SkylineCloud.AI

Custom Websites & Architectures

High-performance, responsive web architectures engineered for scale. We design and modernize web platforms using resilient backend systems, optimized database schemas, and lightning-fast frontend frameworks to elevate your digital presence.

Modern Architecture

Clean, maintainable codebases built on scalable cloud infrastructure with CI/CD integration and optimized routing paths.

Full-Stack Modernization

Transform legacy frameworks into modern, high-throughput applications with decoupled UI components and secure API endpoints.

Performance & SEO

Engineered for sub-second page loads, strict accessibility standards, structured data schema, and semantic markup.

Simple Advertisement Site

Static / Lead Gen

Ideal for landing pages, showcase sites, and business cards with an integrated contact form.

  • Design: Free
  • Launch Fee: $50
  • Hosting: $15 / mo

e-Commerce Platform

Payments Integrated

Full online store capability, catalog management, and secure gateway checkout flows.

  • Design: Free
  • Launch Fee: $100
  • Hosting: $18 / mo

Class Registration System

Registration & Payments

Interactive portal for student enrollments, course schedules, and integrated payment processing.

  • Design: Free
  • Launch Fee: $100
  • Hosting: $20 / mo

Portfolio

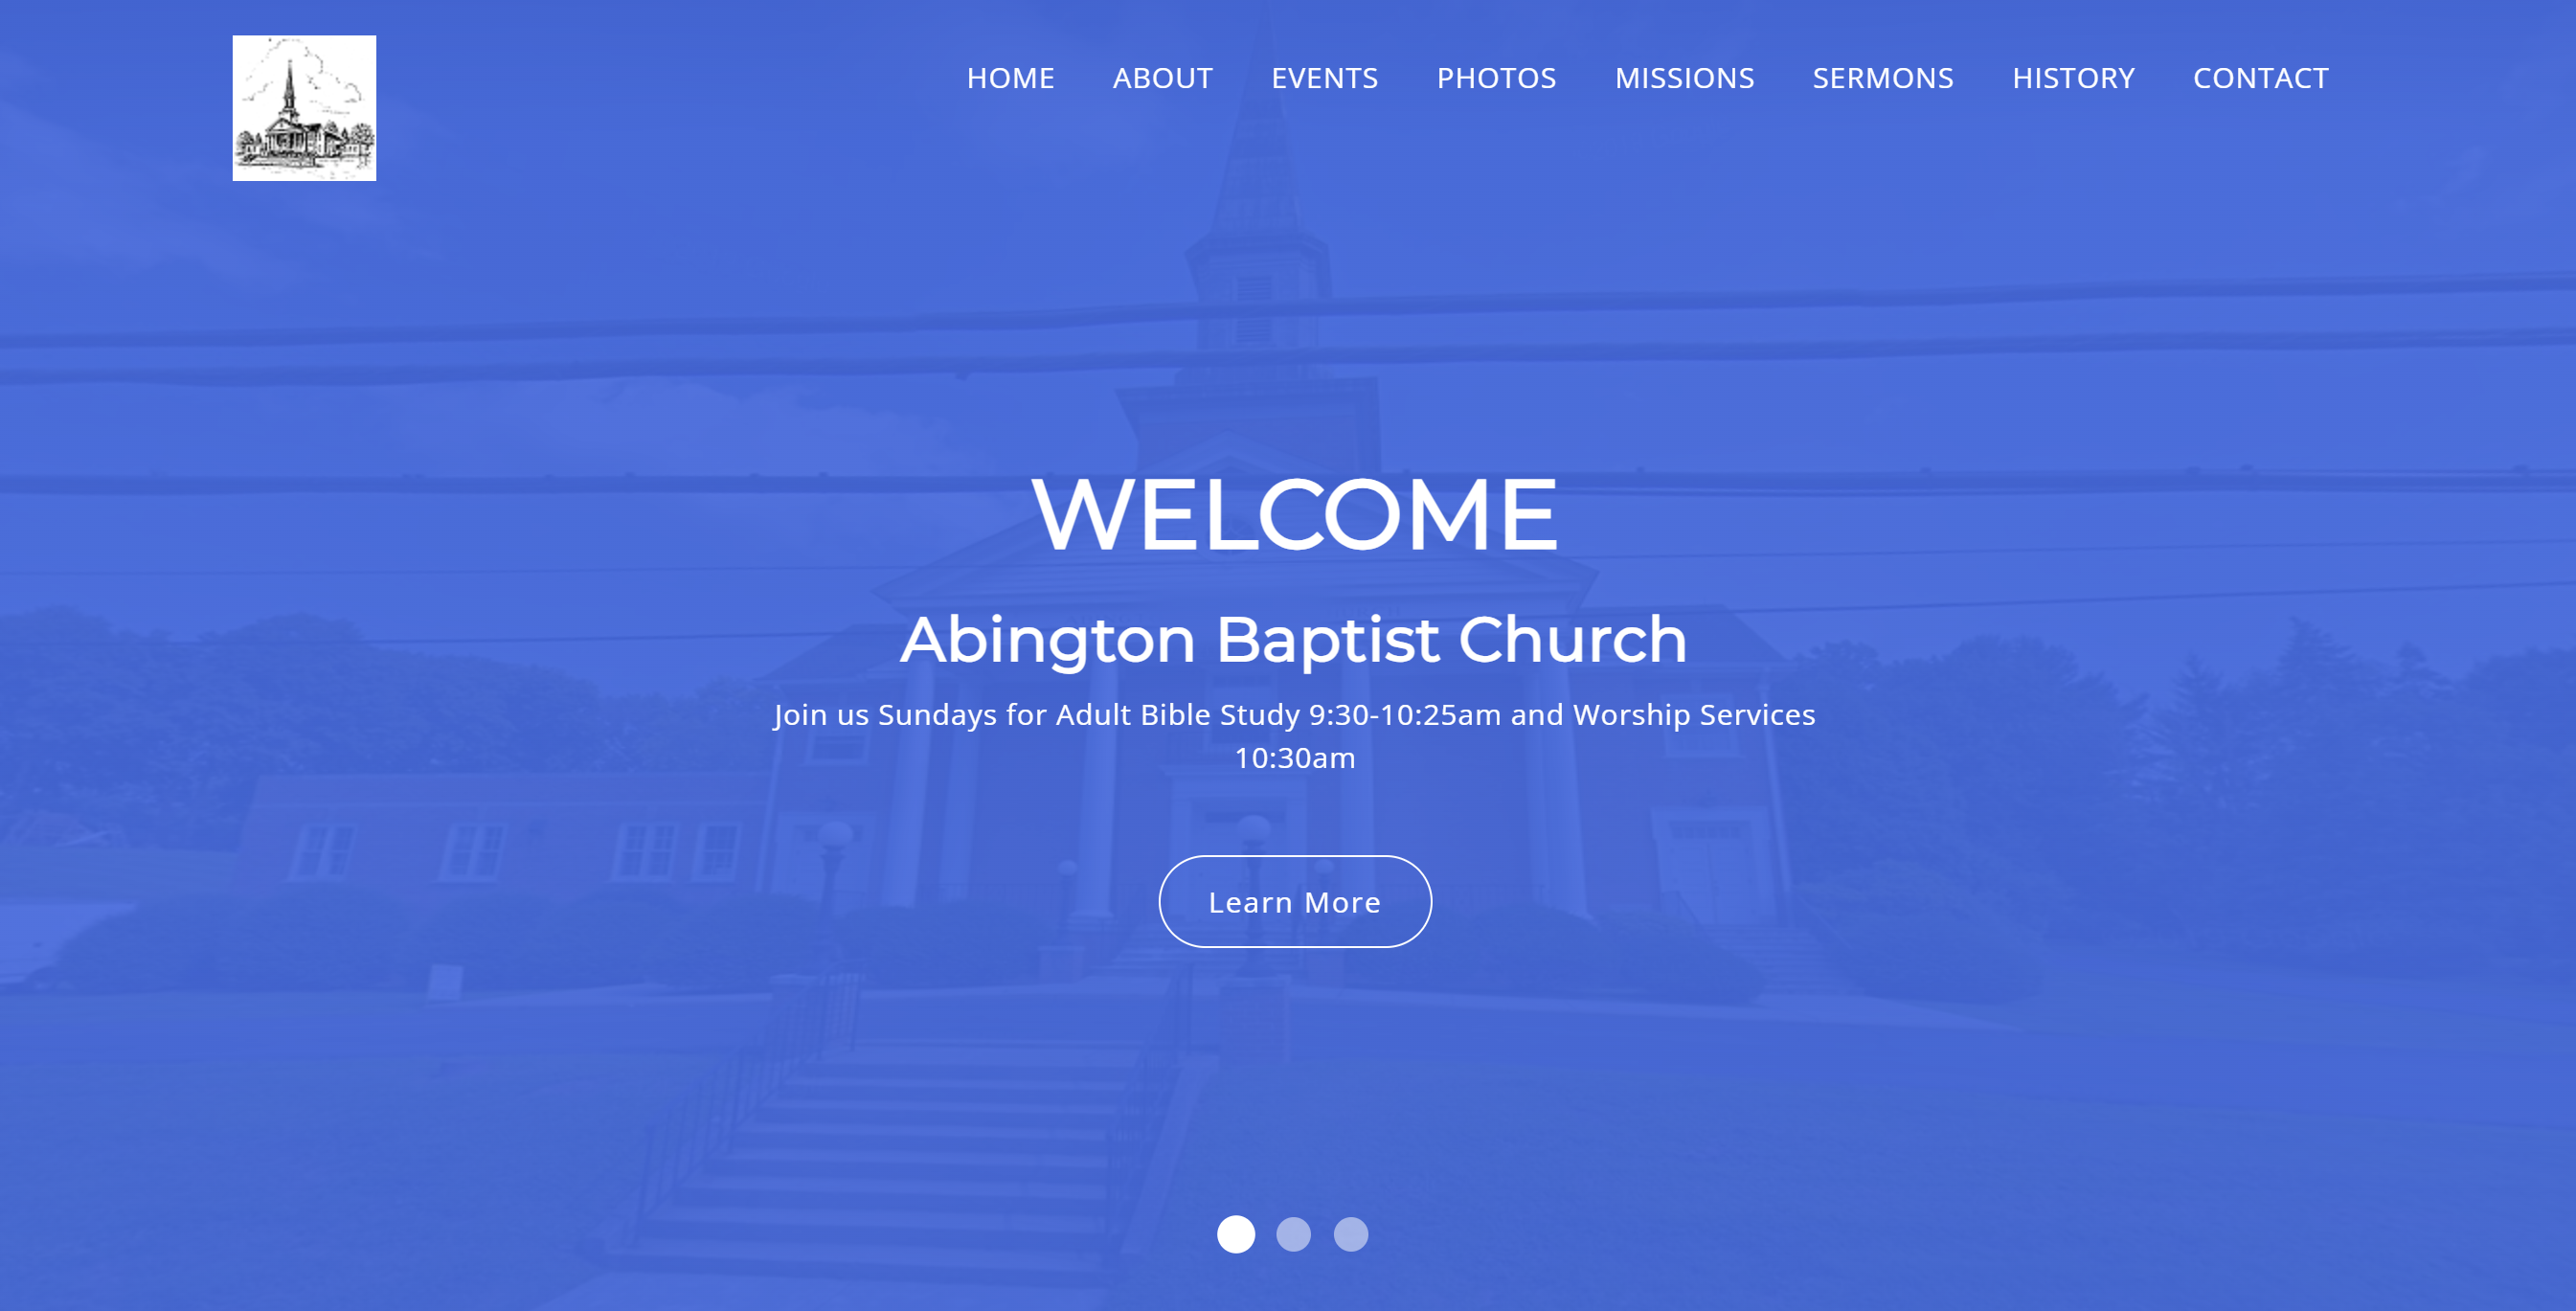
Abington Baptist Church

Pennsylvania

pic

Markosky Law

Pennsylvania

pic

Aspinwall Custom Knives

Pennsylvania

pic

GTX Family Martial Arts

Texas

pic

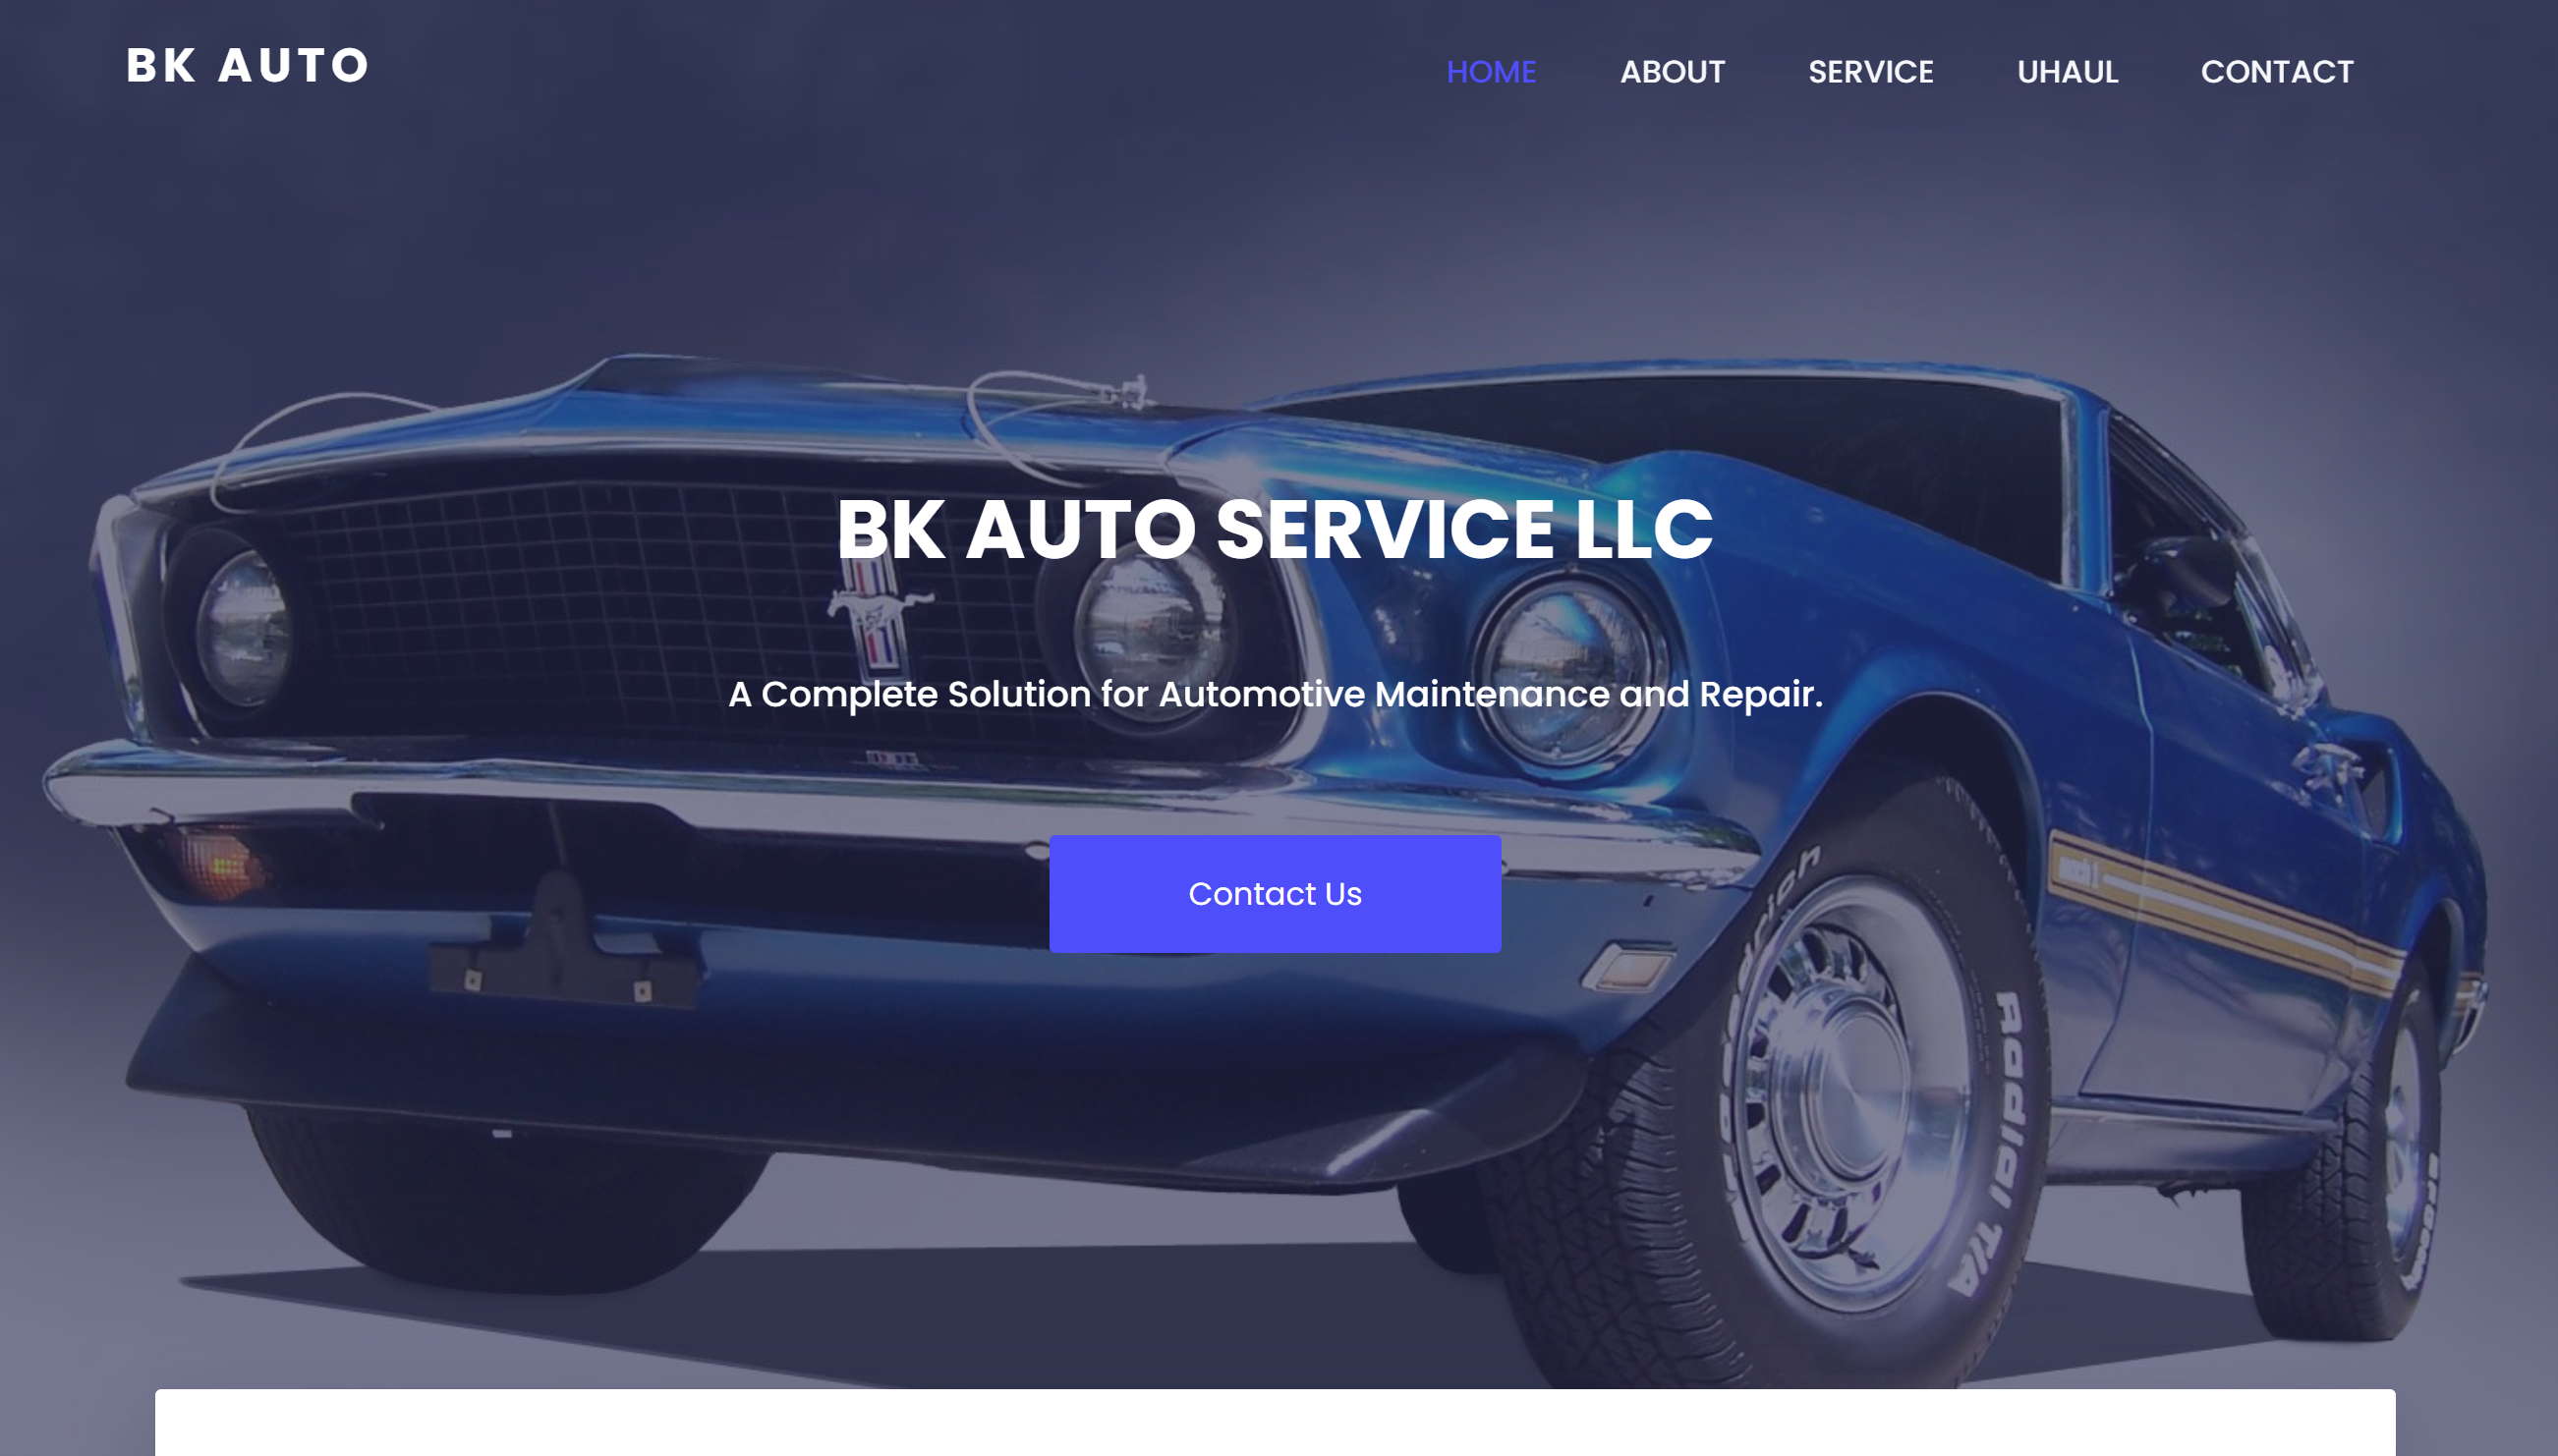
BK Auto Service LLC

Pennsylvania

pic

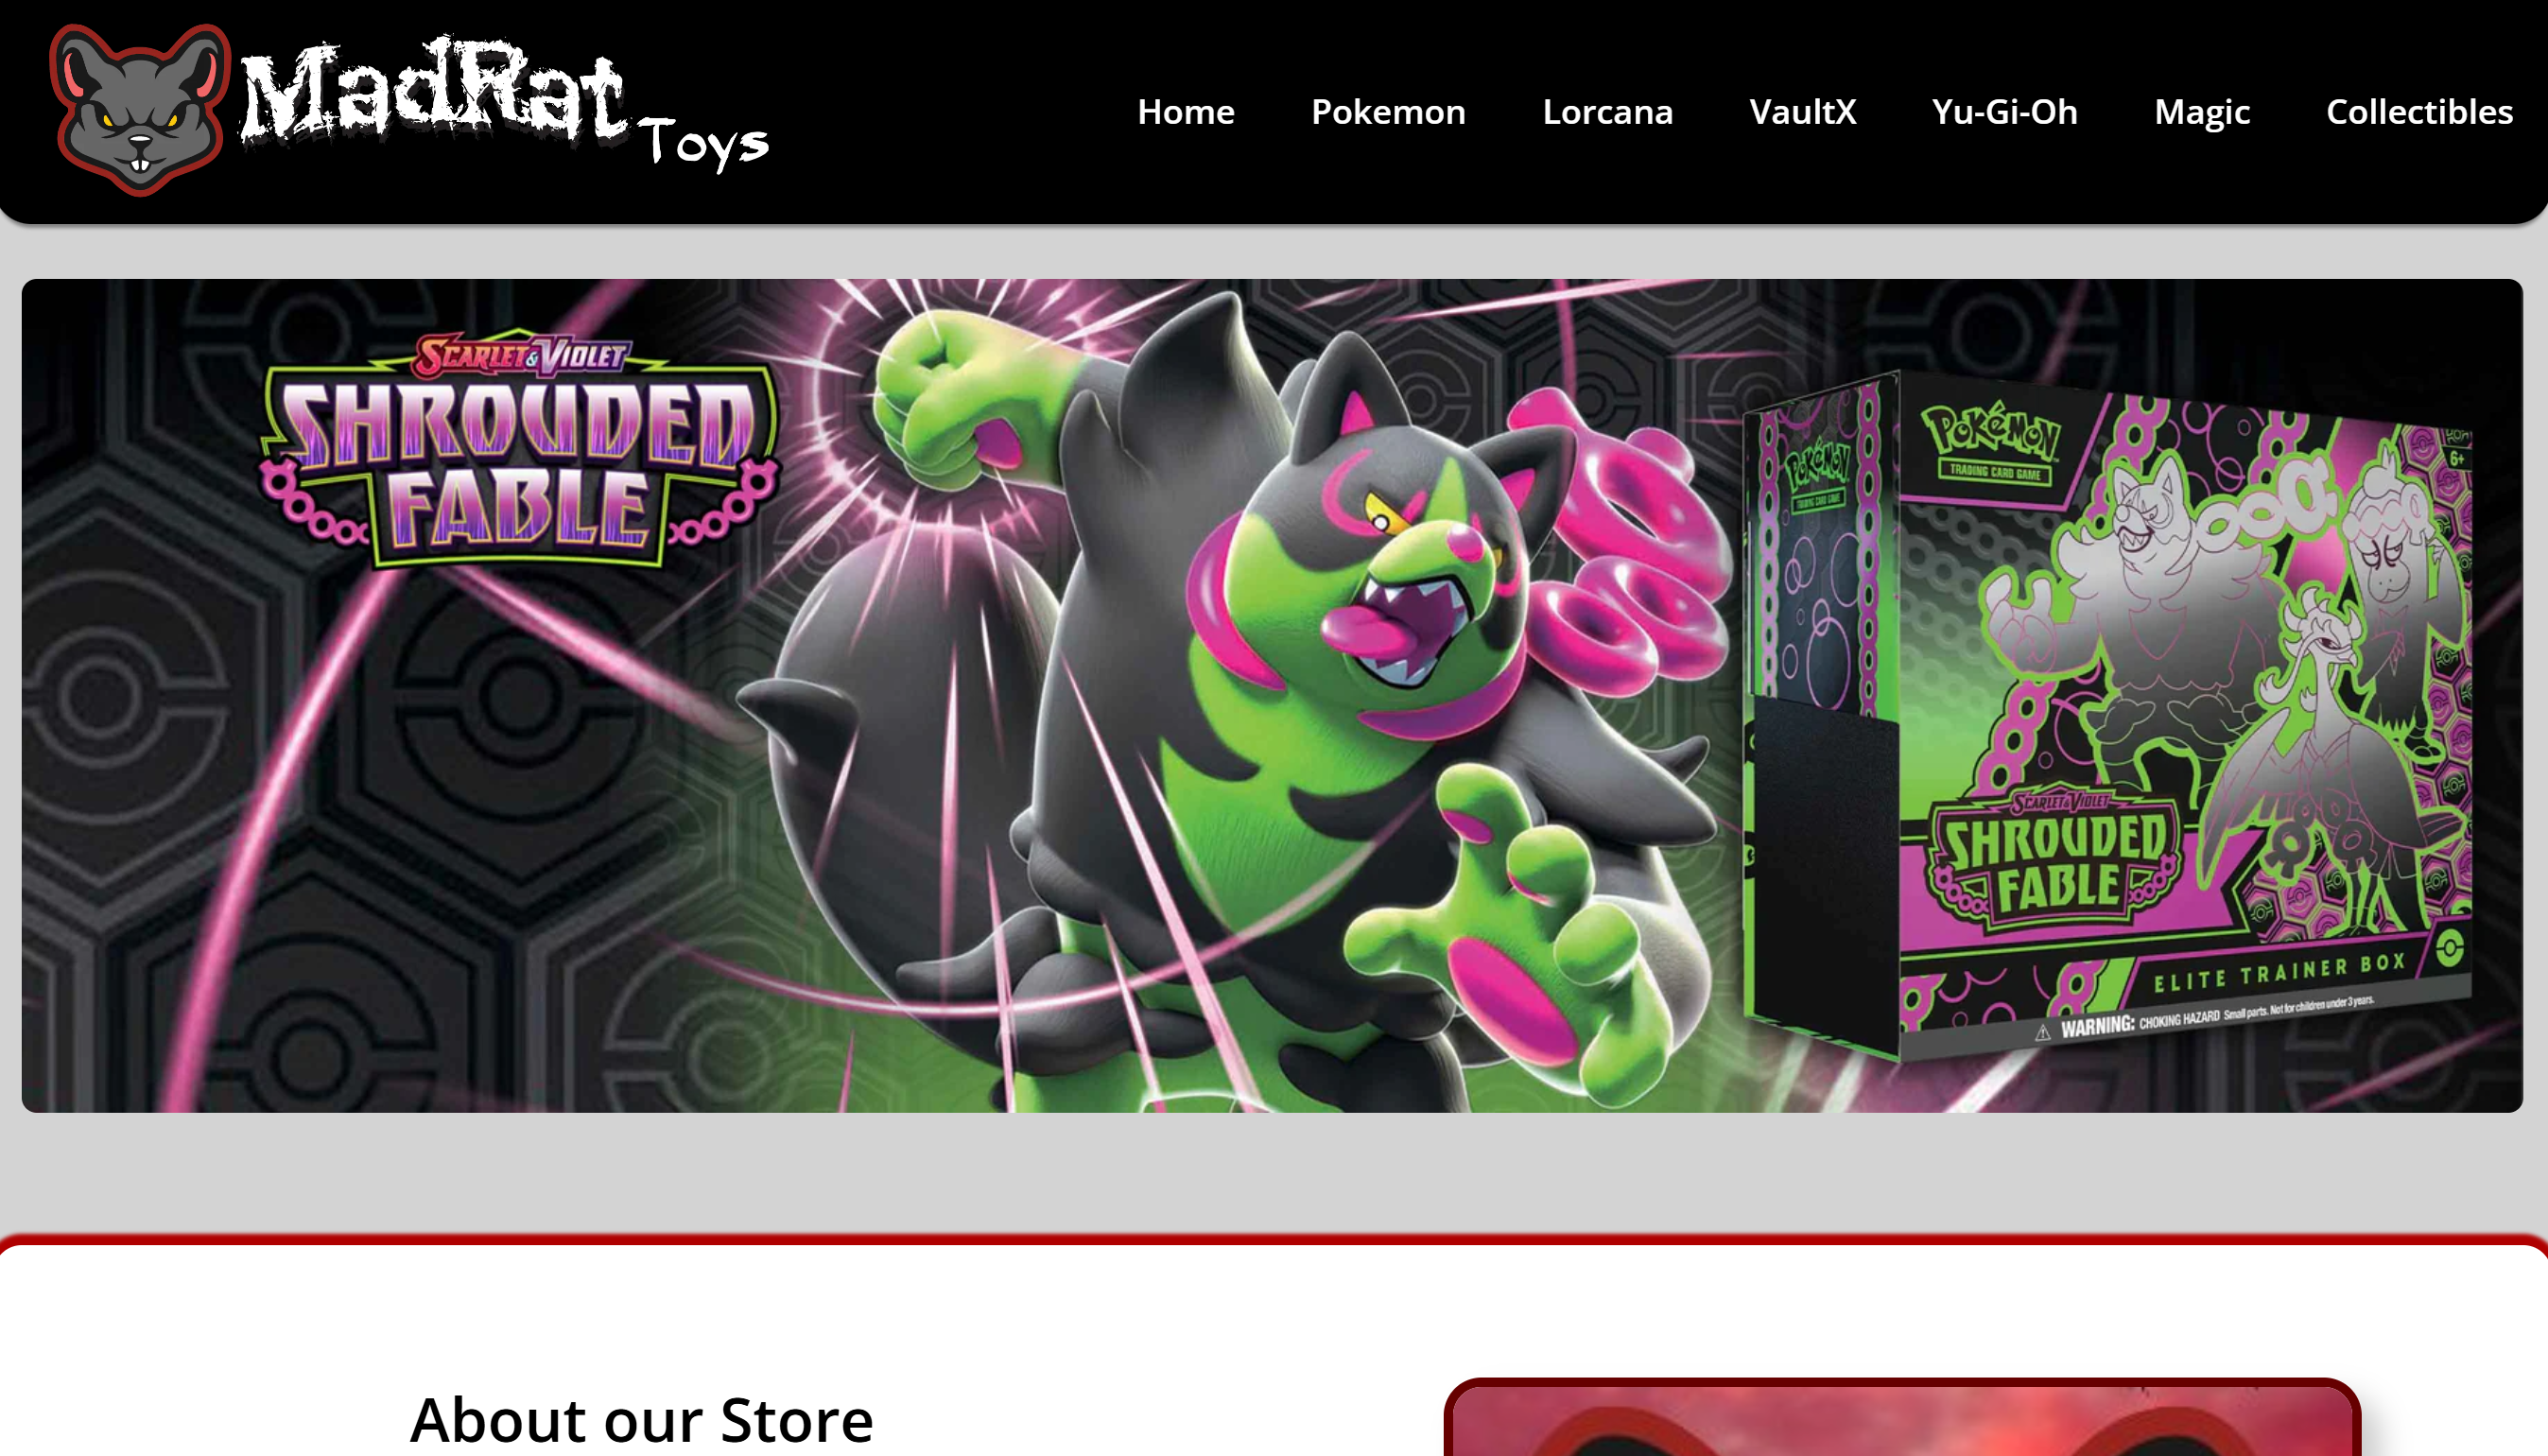
MadRat Toys

Texas

pic

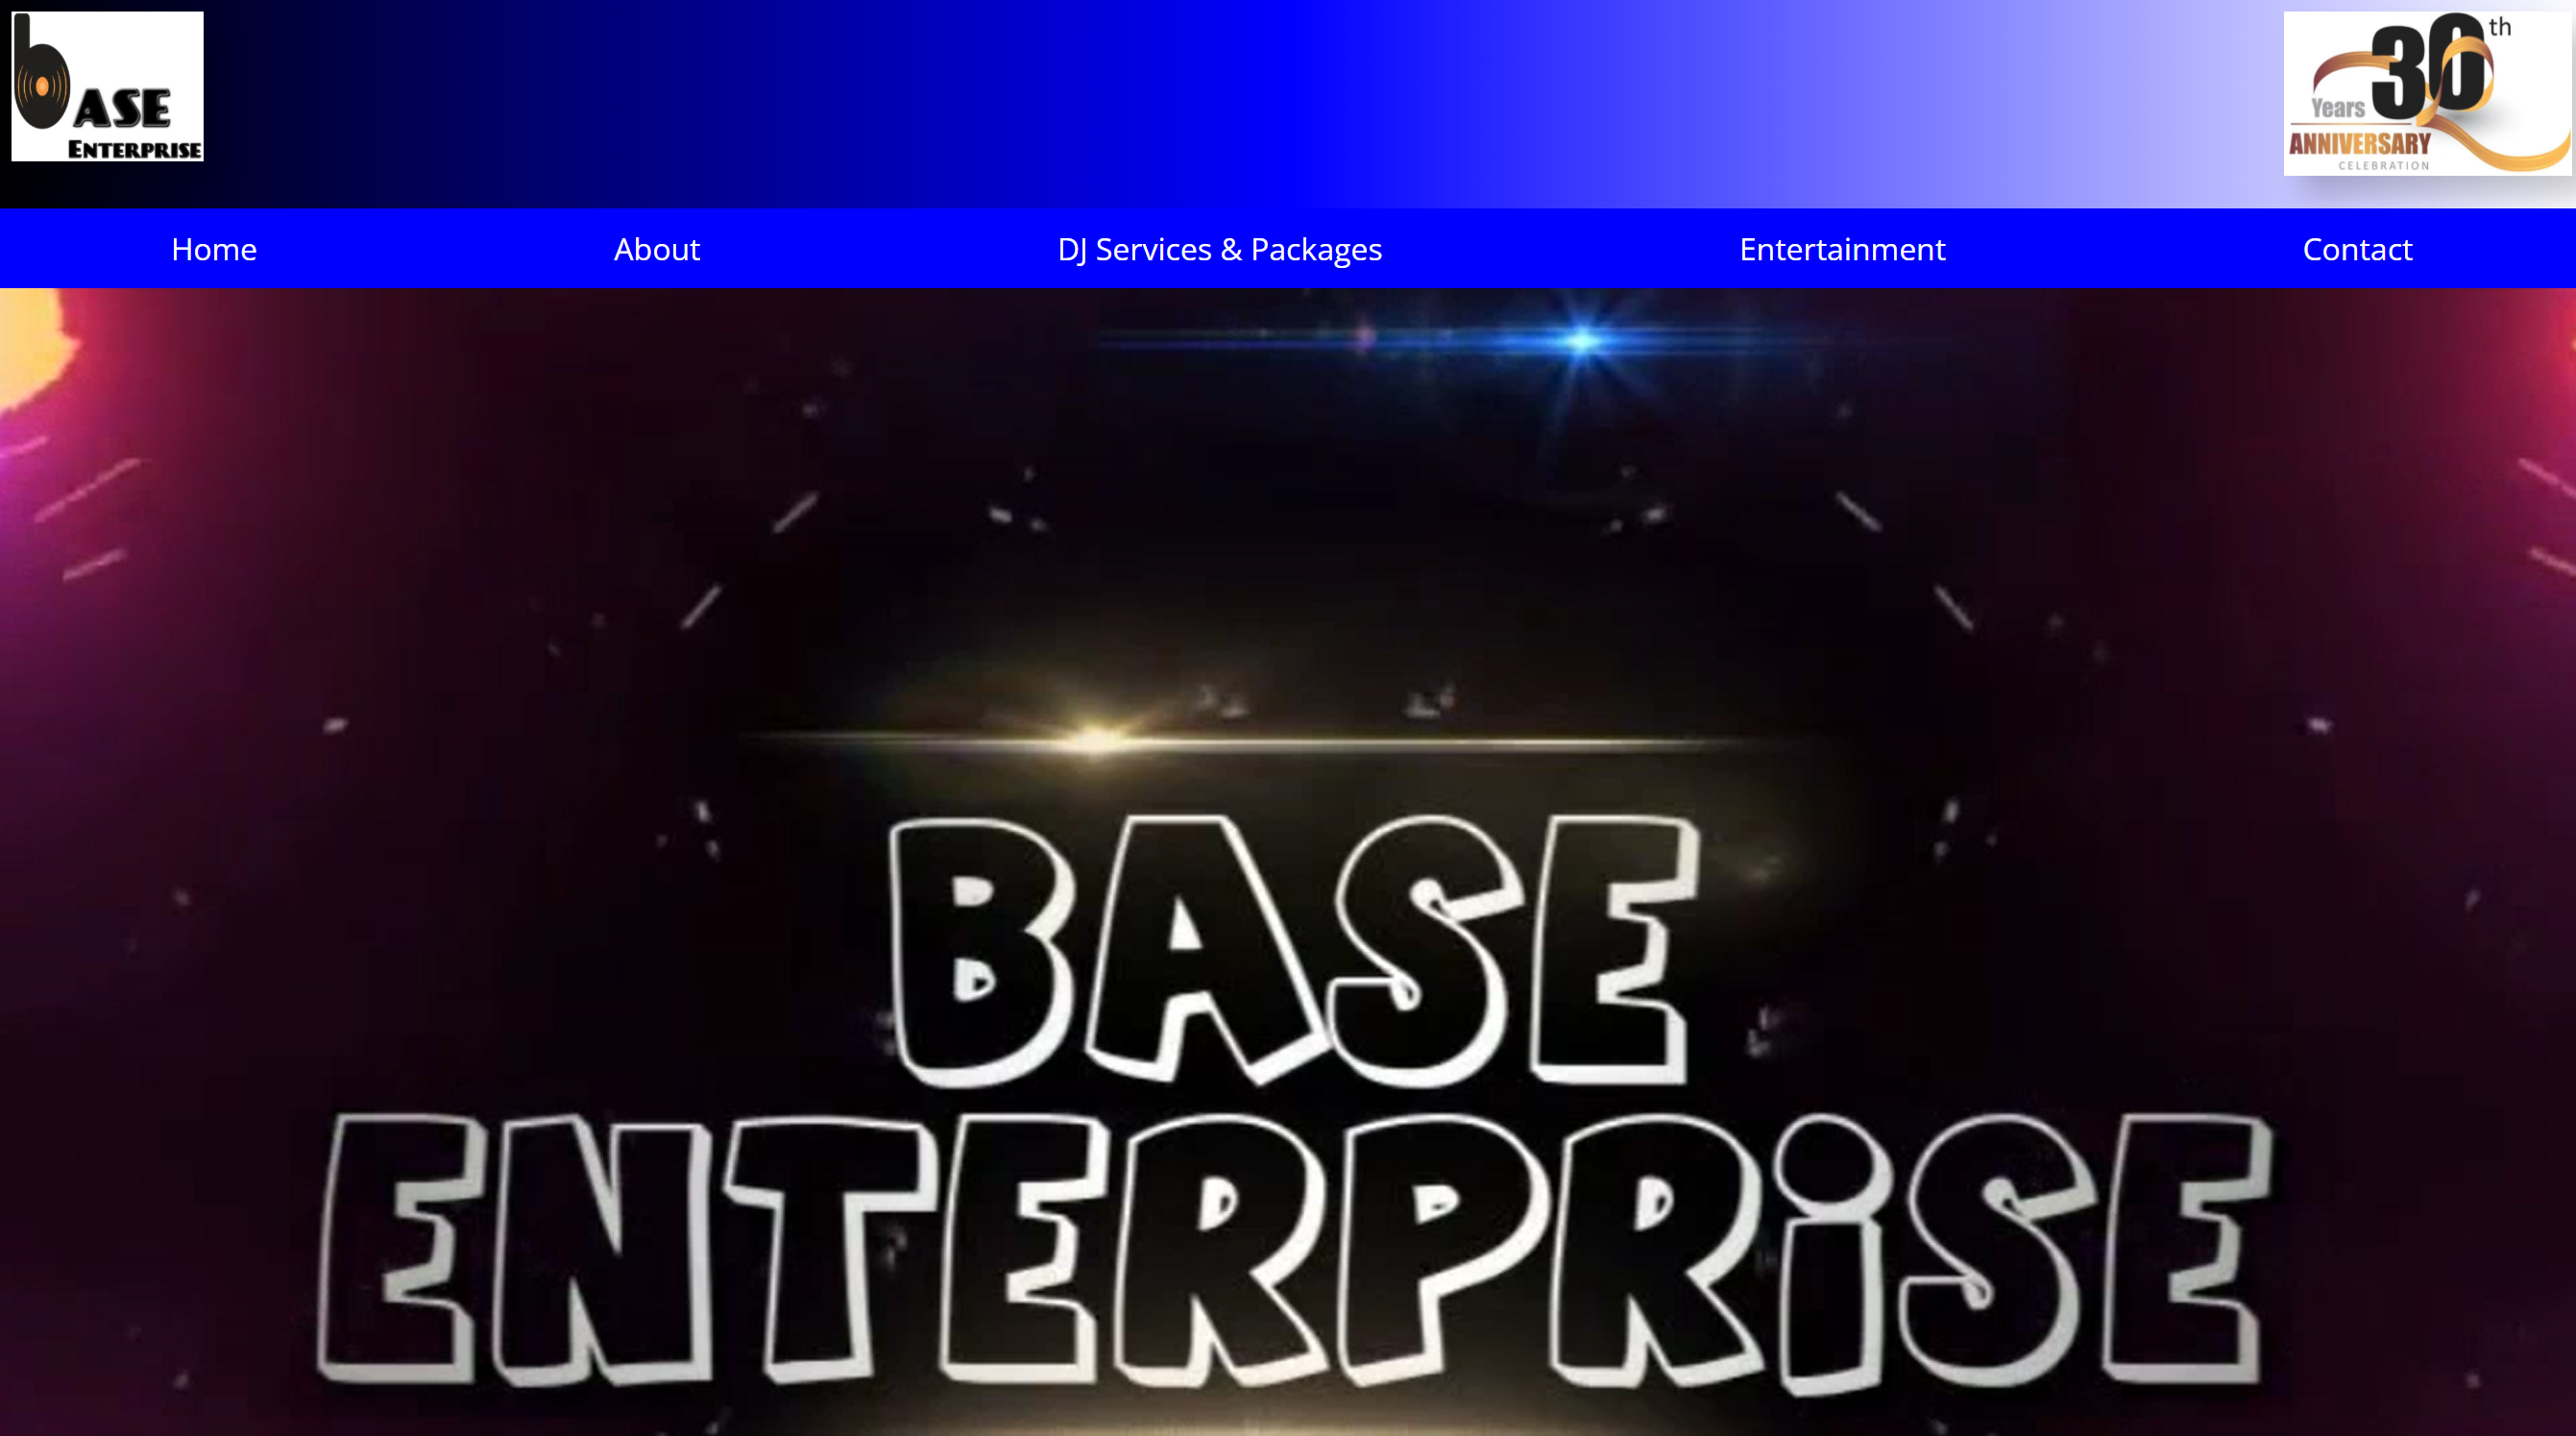
Fun With Base

Illinois

pic

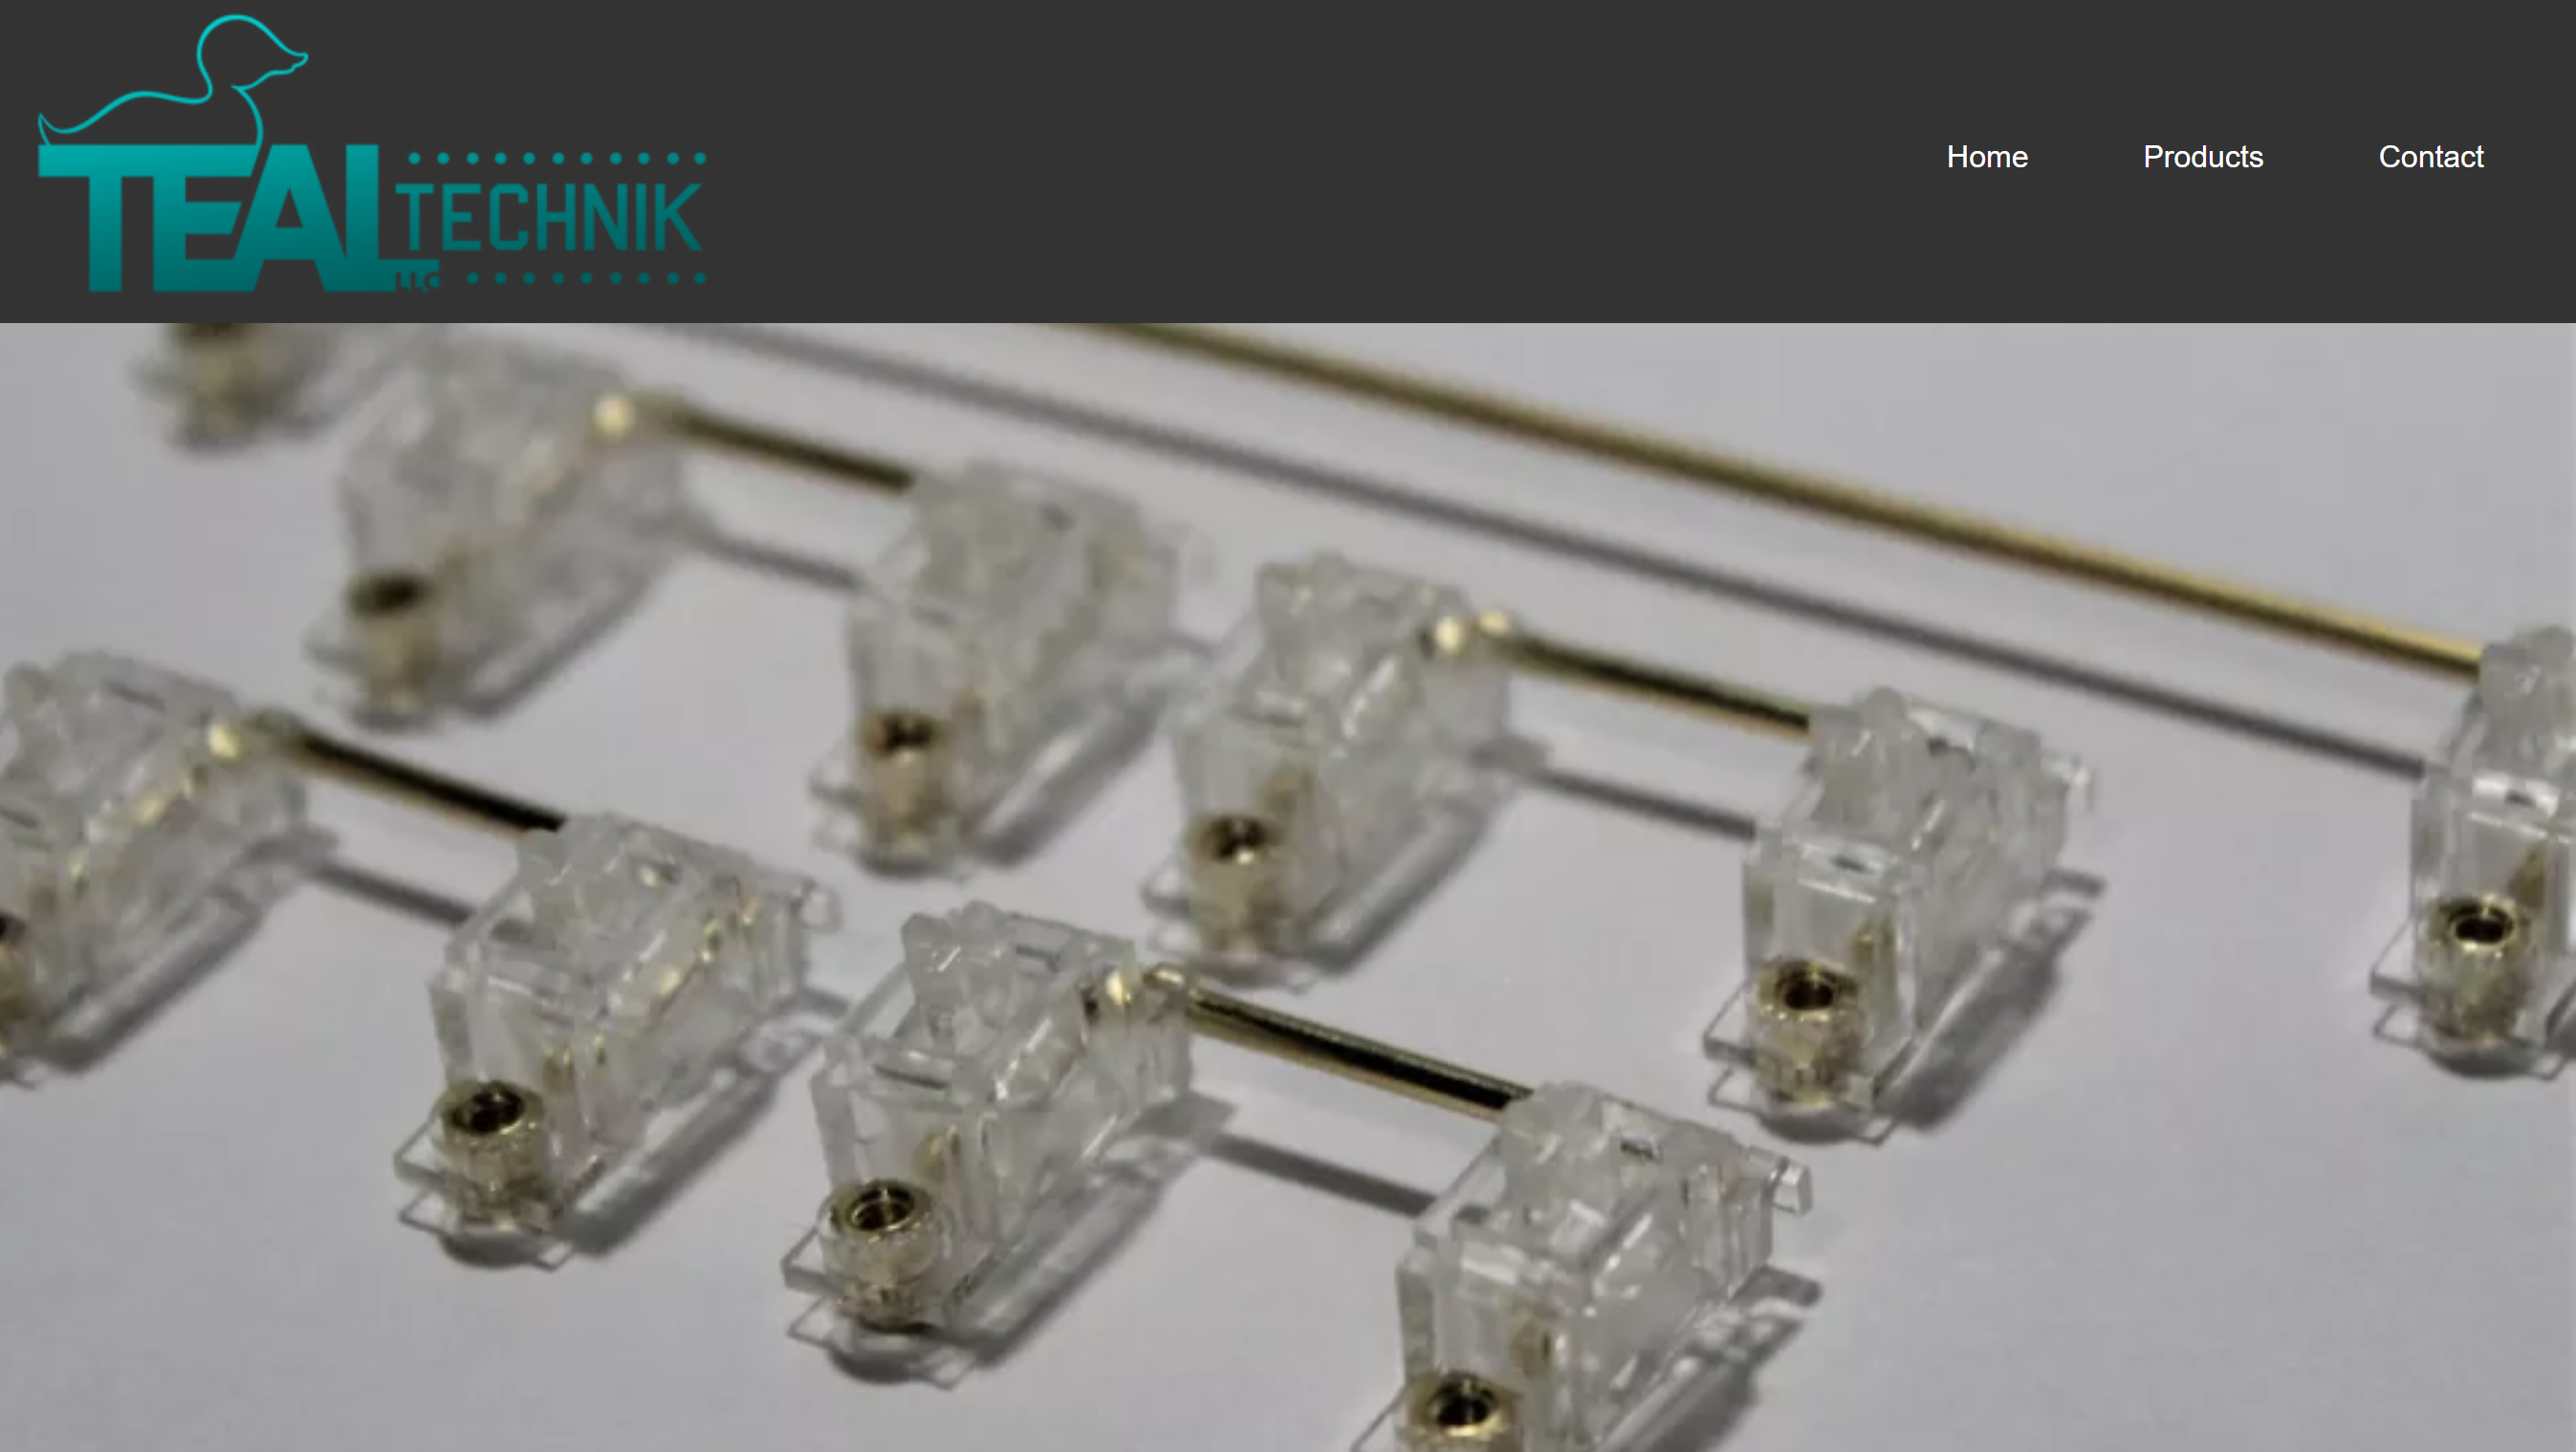
Teal Technik

Pennsylvania

pic

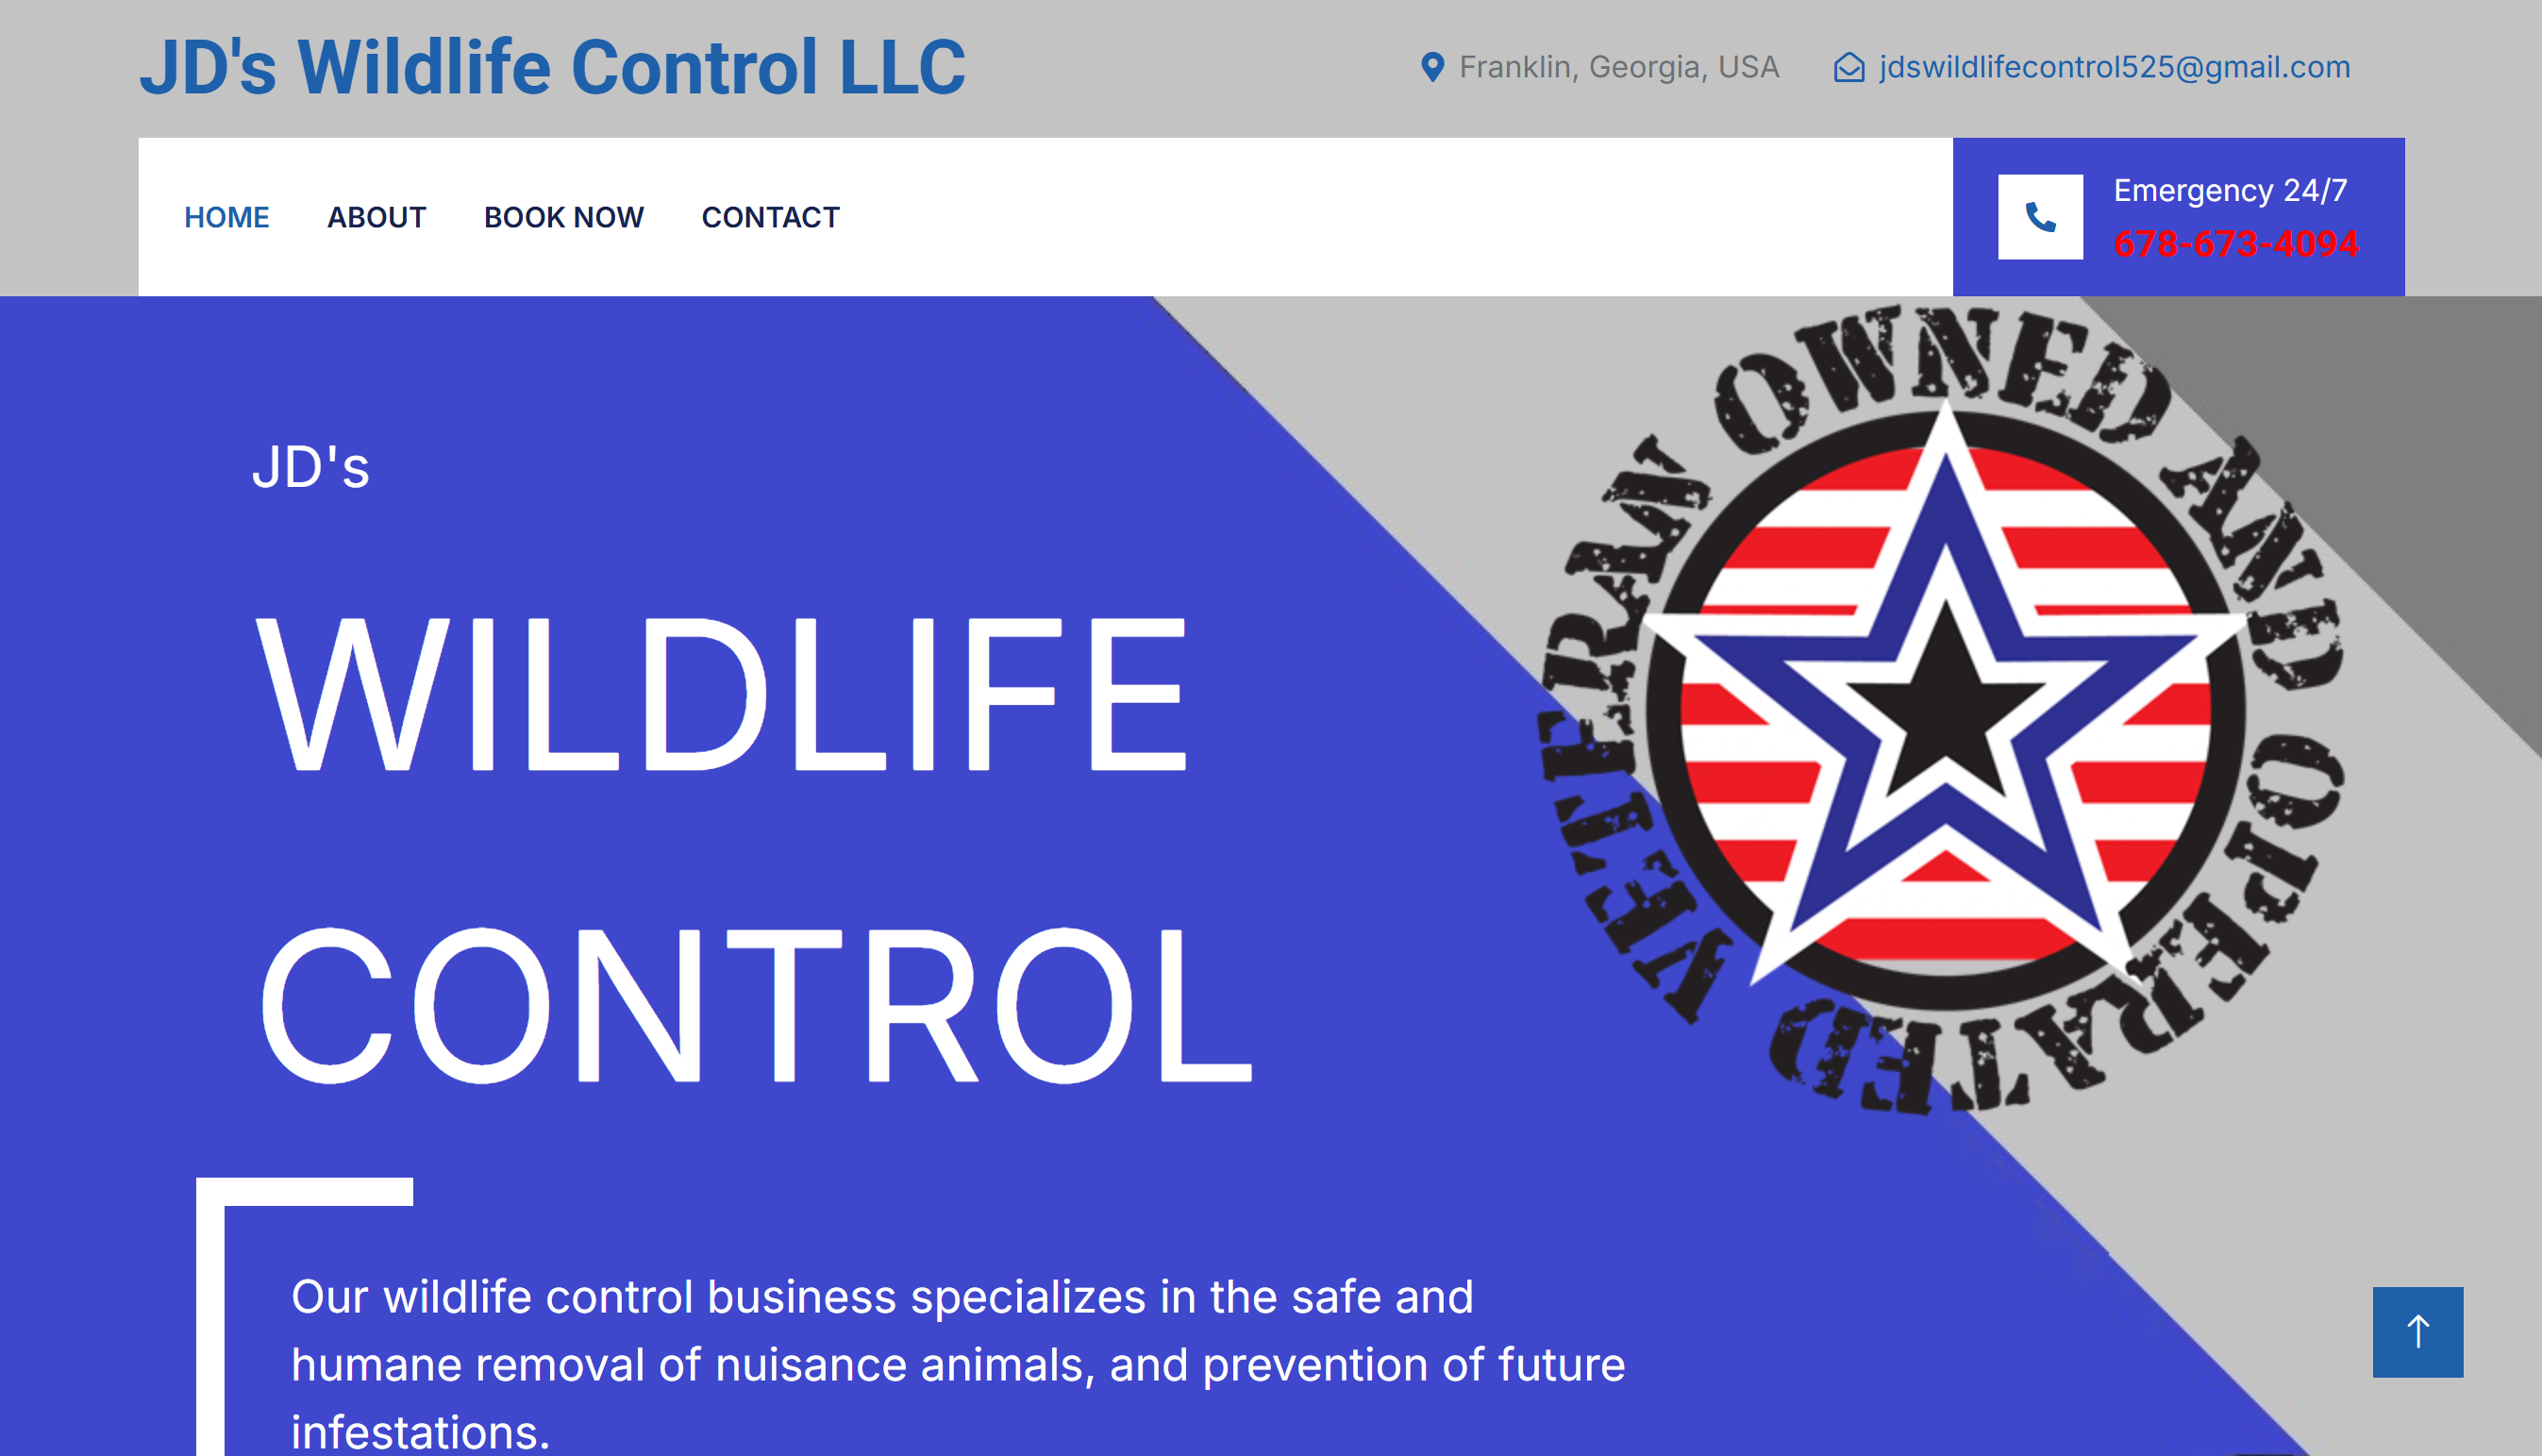
JDs Wildlife Control

Georgia

pic

RMG Electric and Construction

Pennsylvania

pic

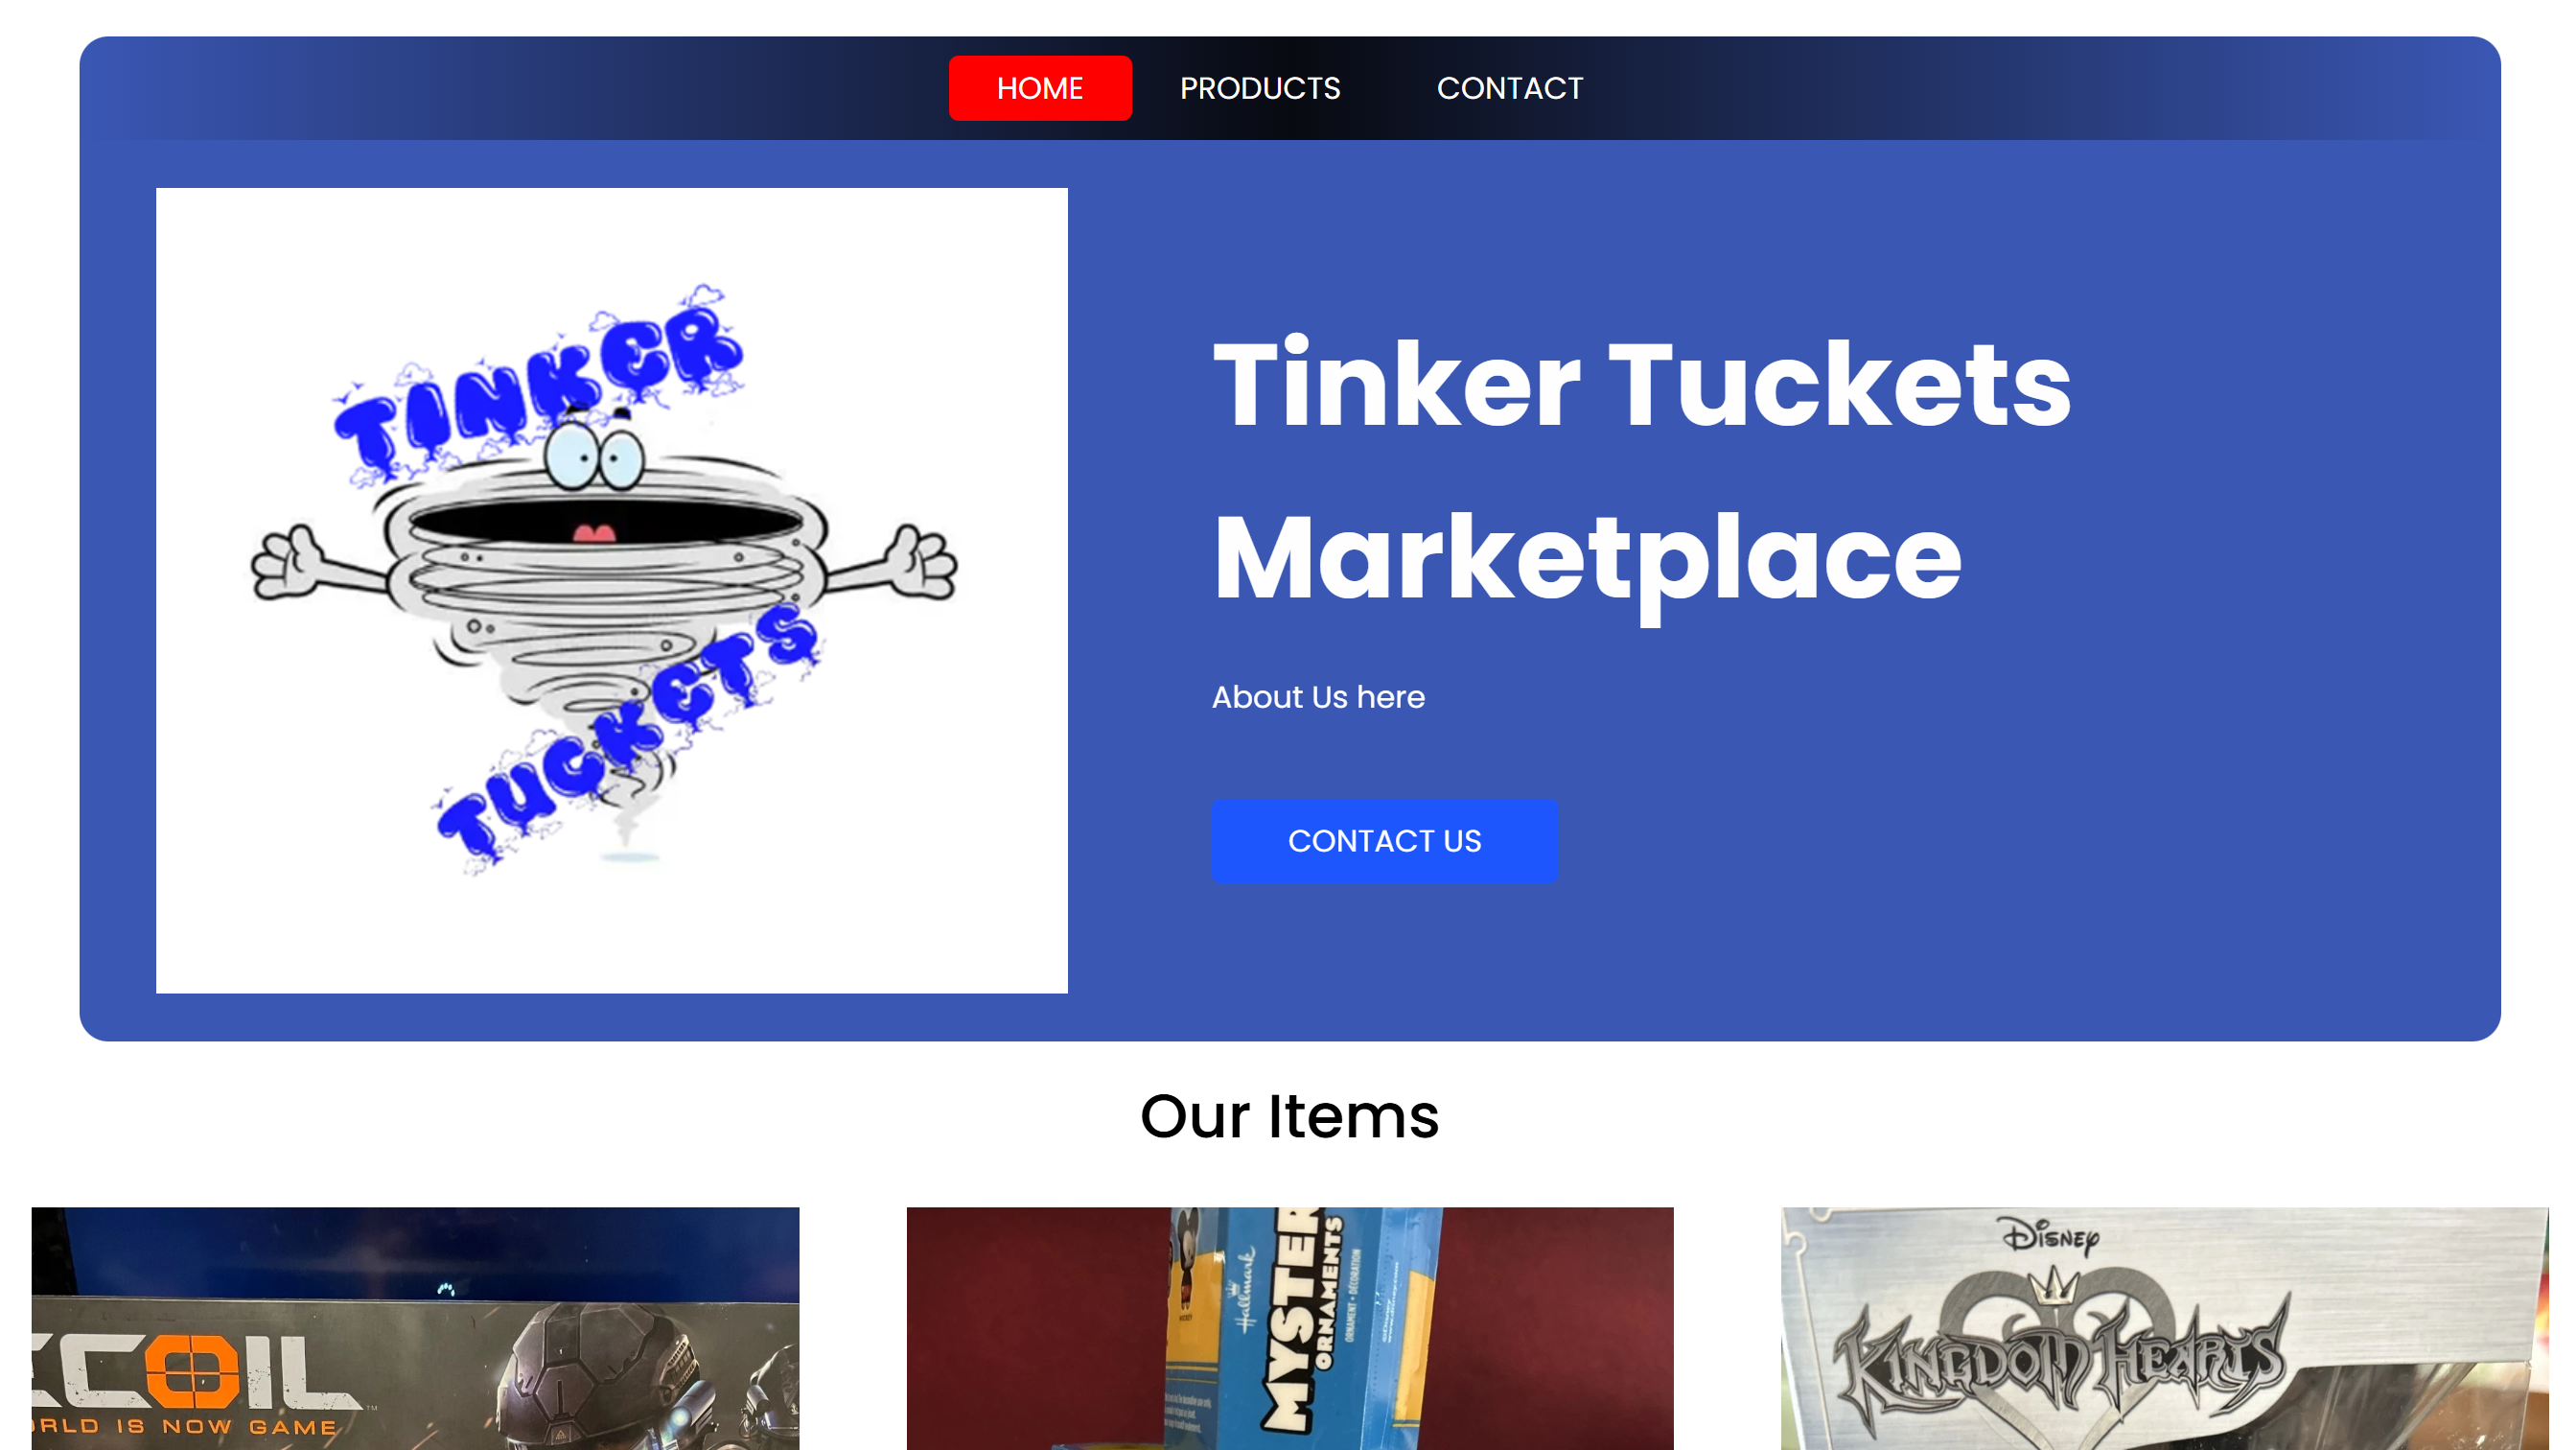
Tinker Tuckets

Illinois

pic

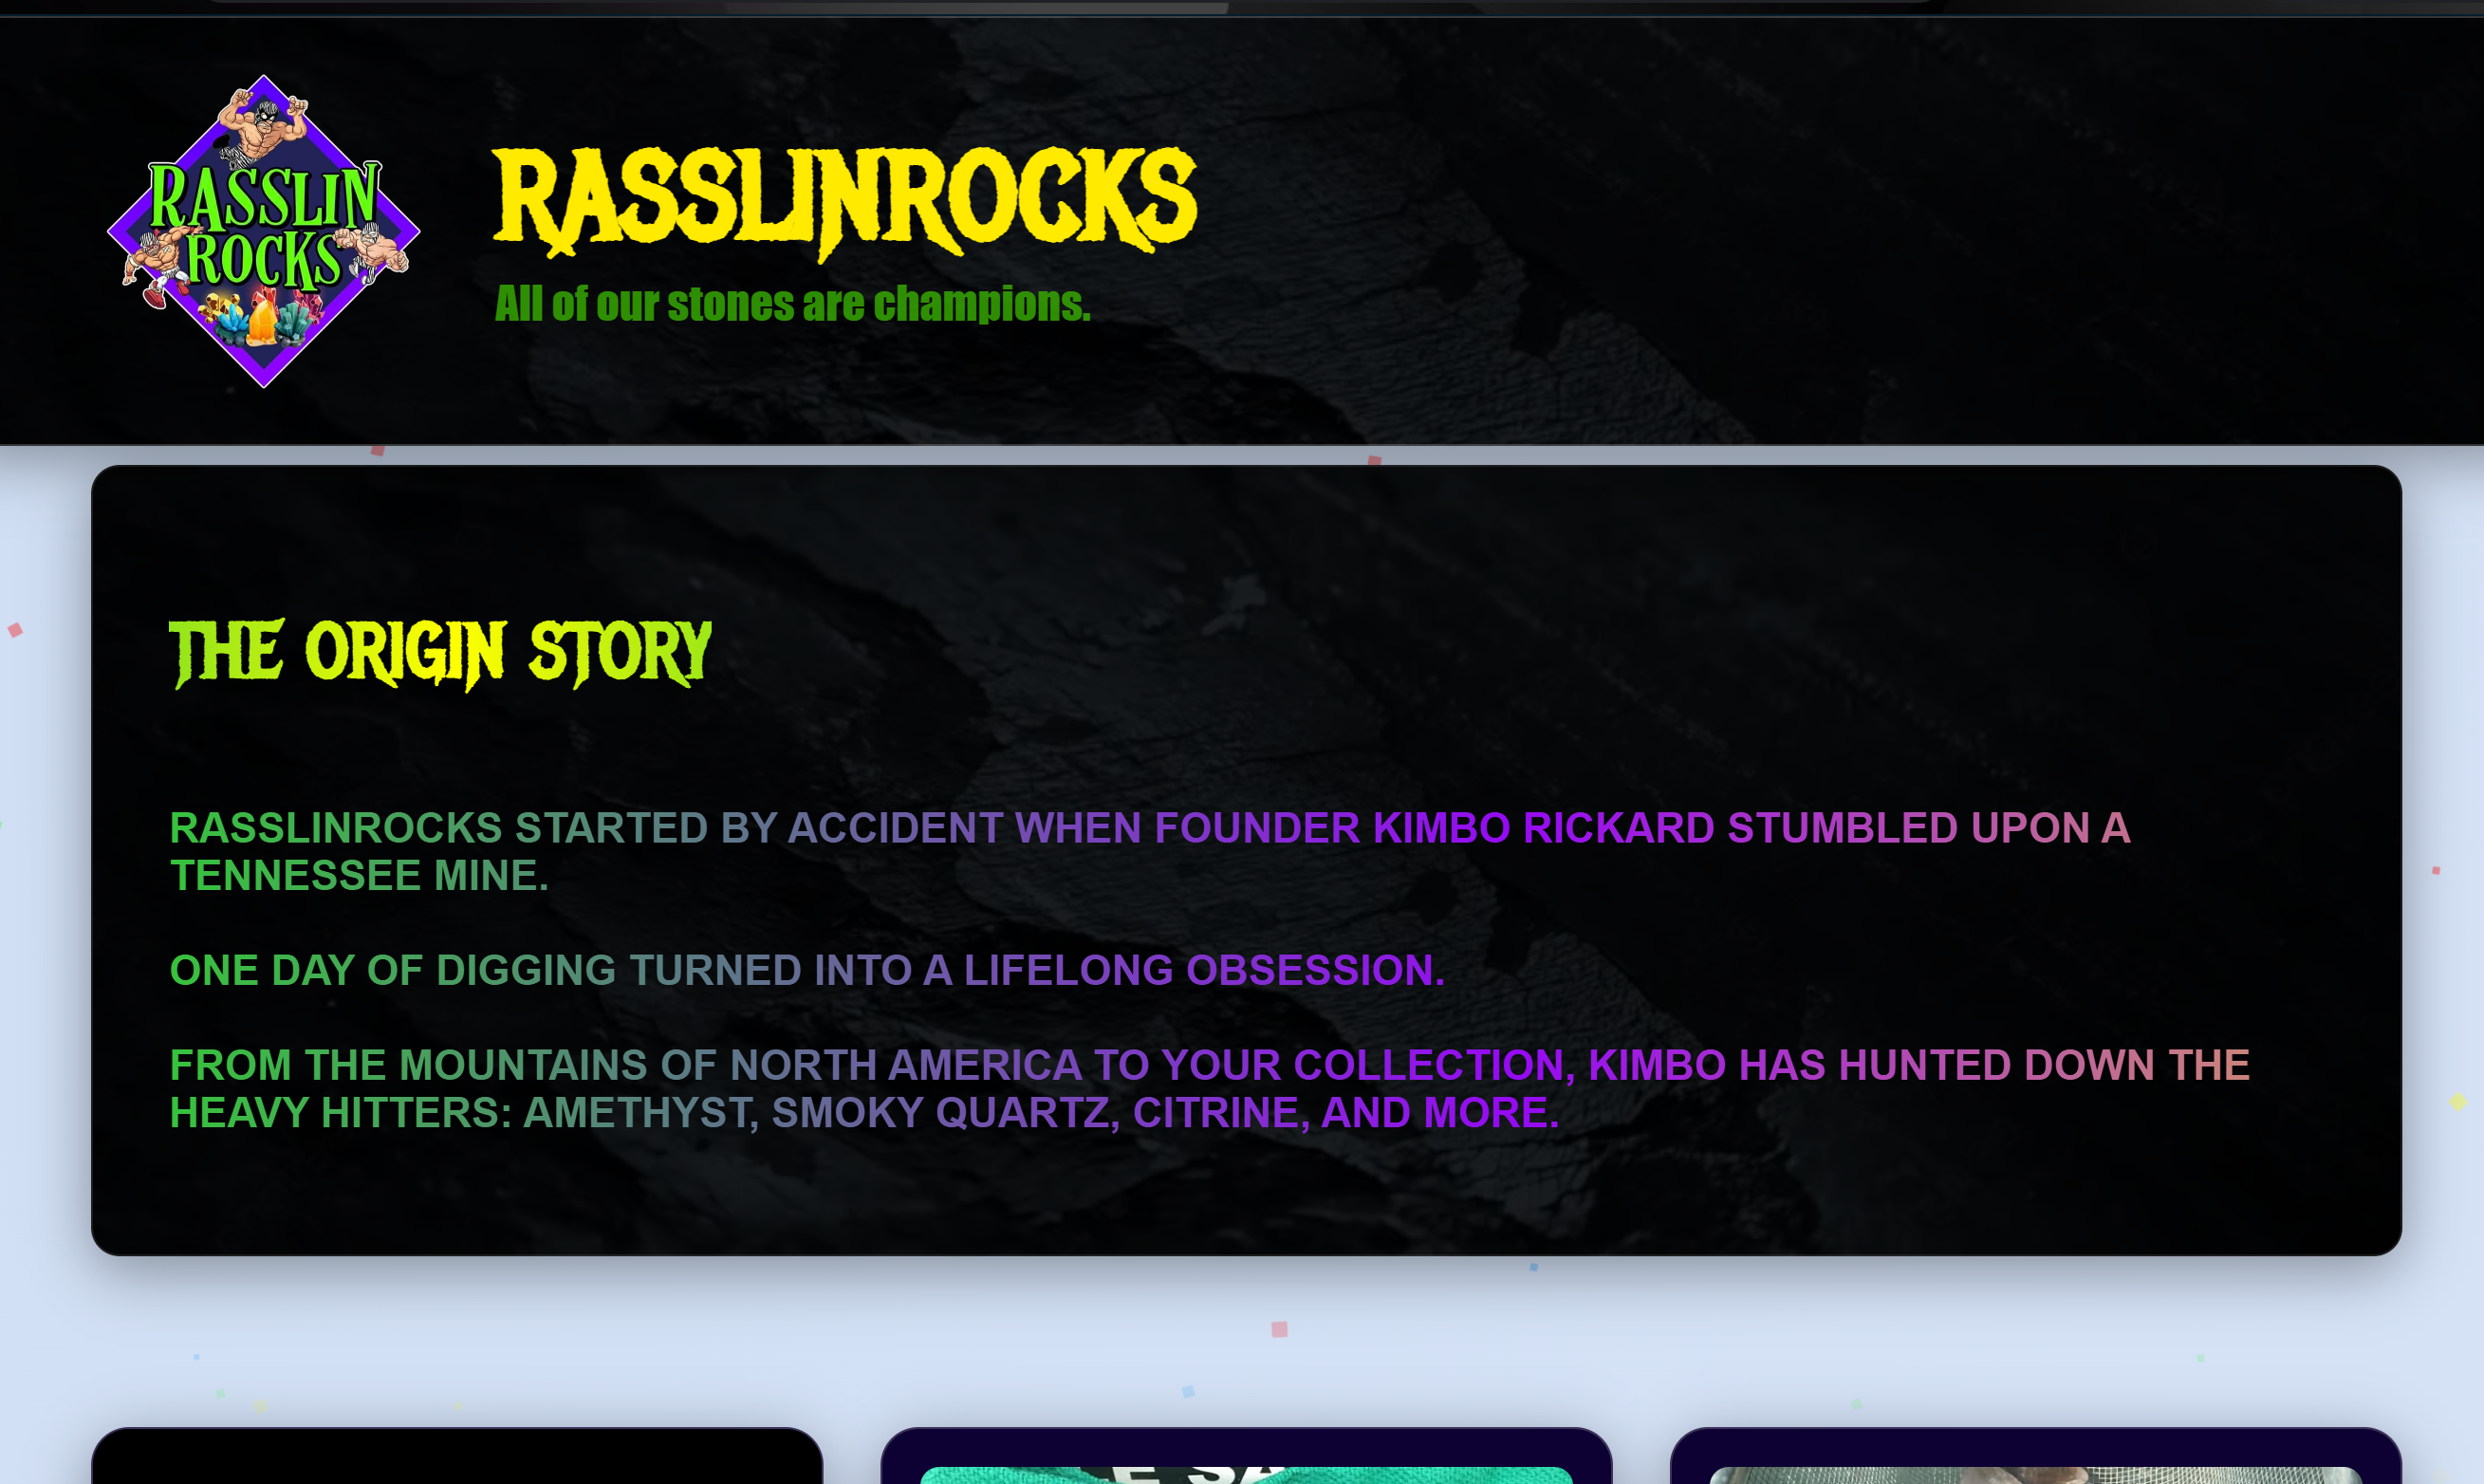
Rasslin Rocks

South Carolina

pic

Texas Pest Control

Texas

pic

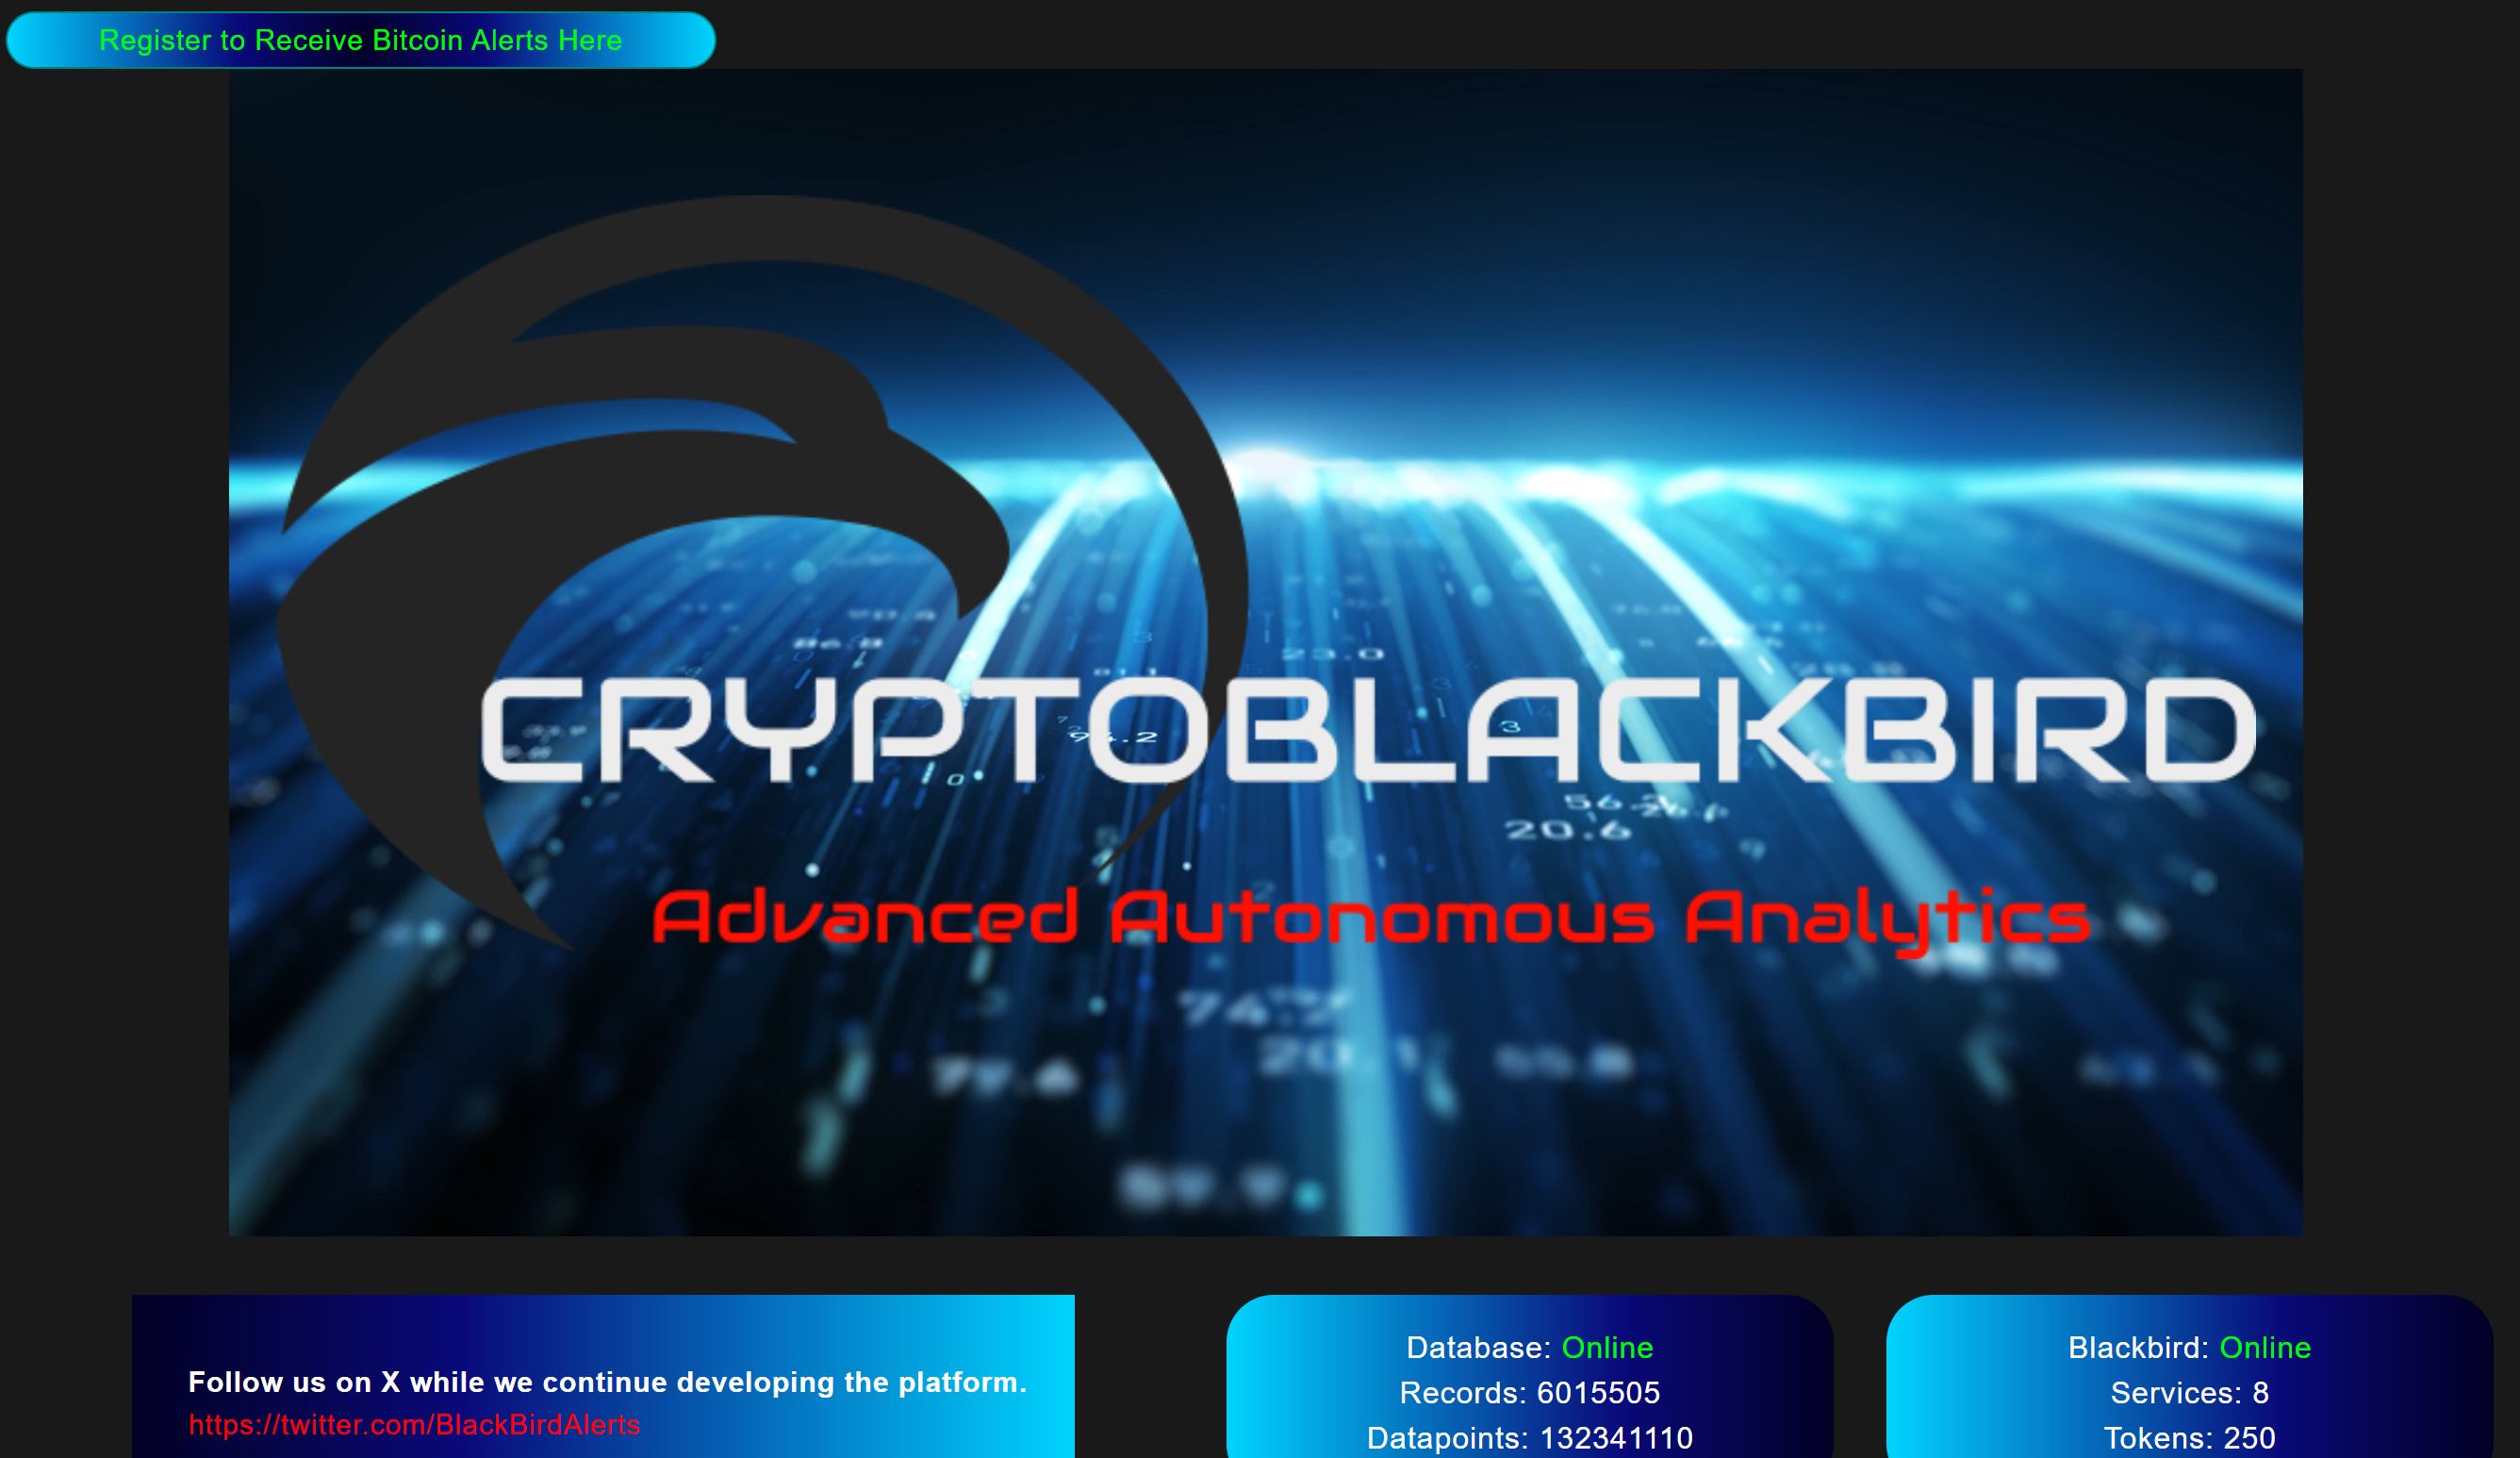
Crypto Blackbird

Pennsylvania

pic

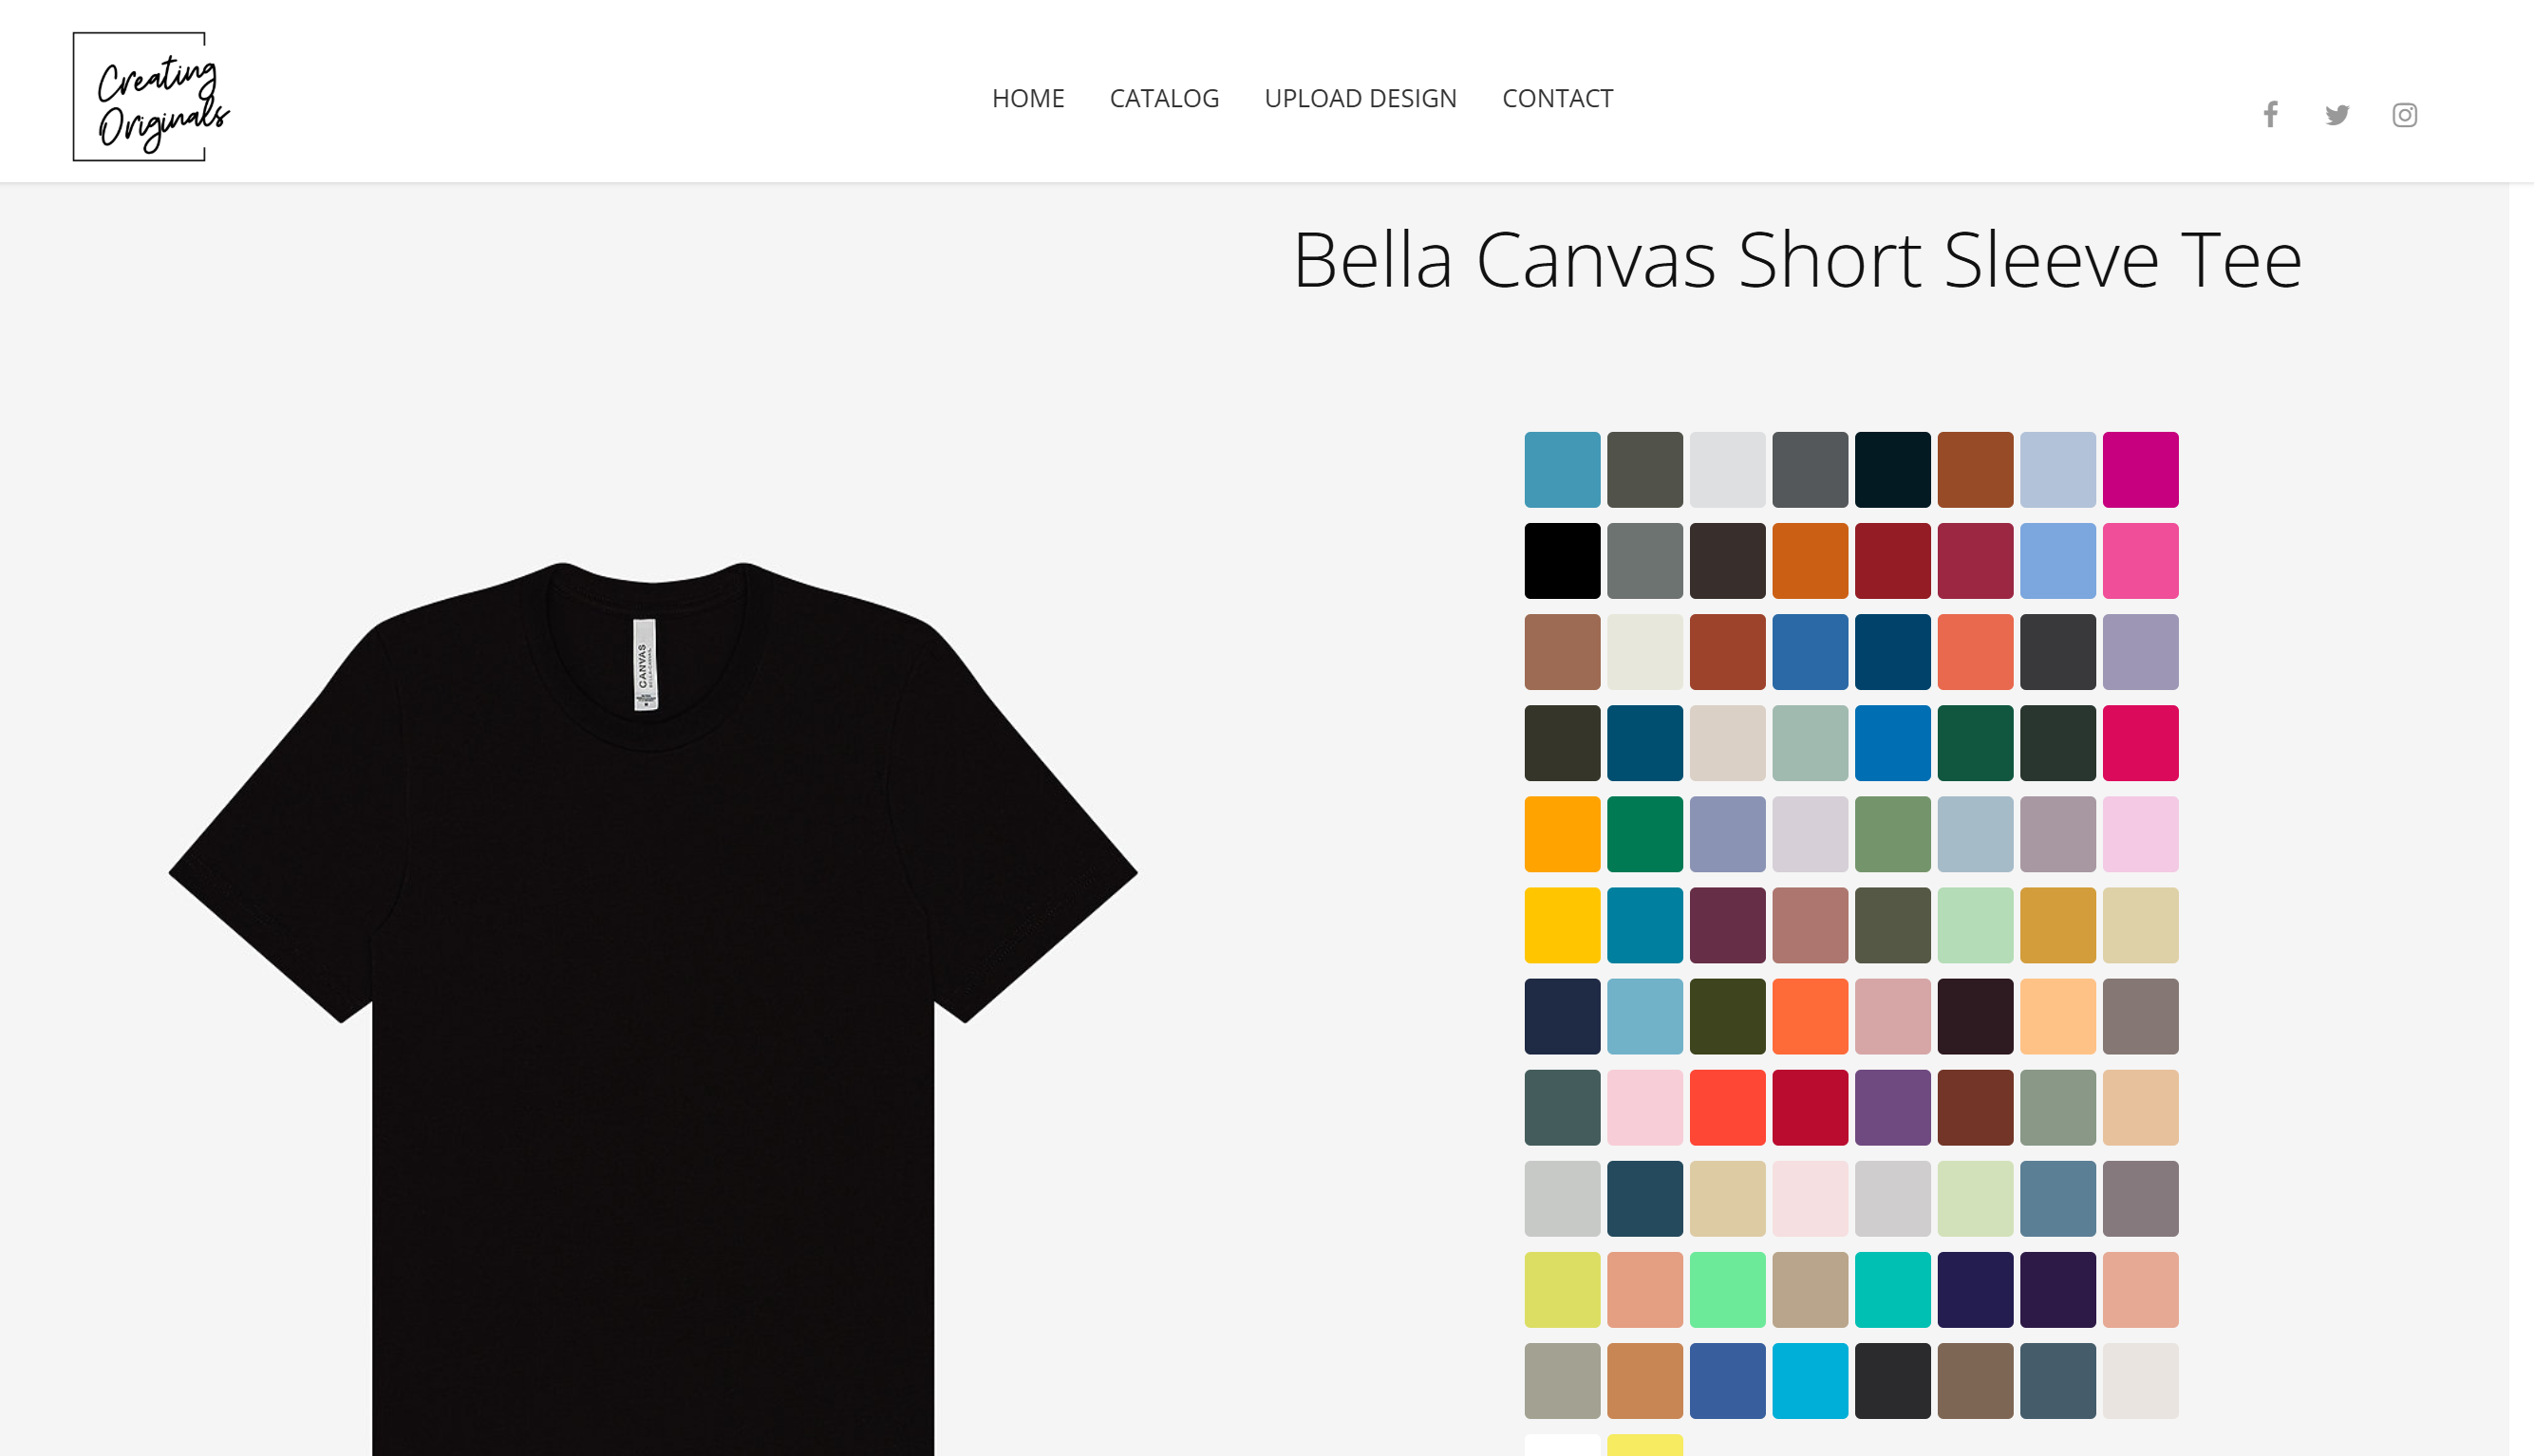
Creating Originals

Illinois

pic

JNJ Chimney Services

Pennsylvania

pic

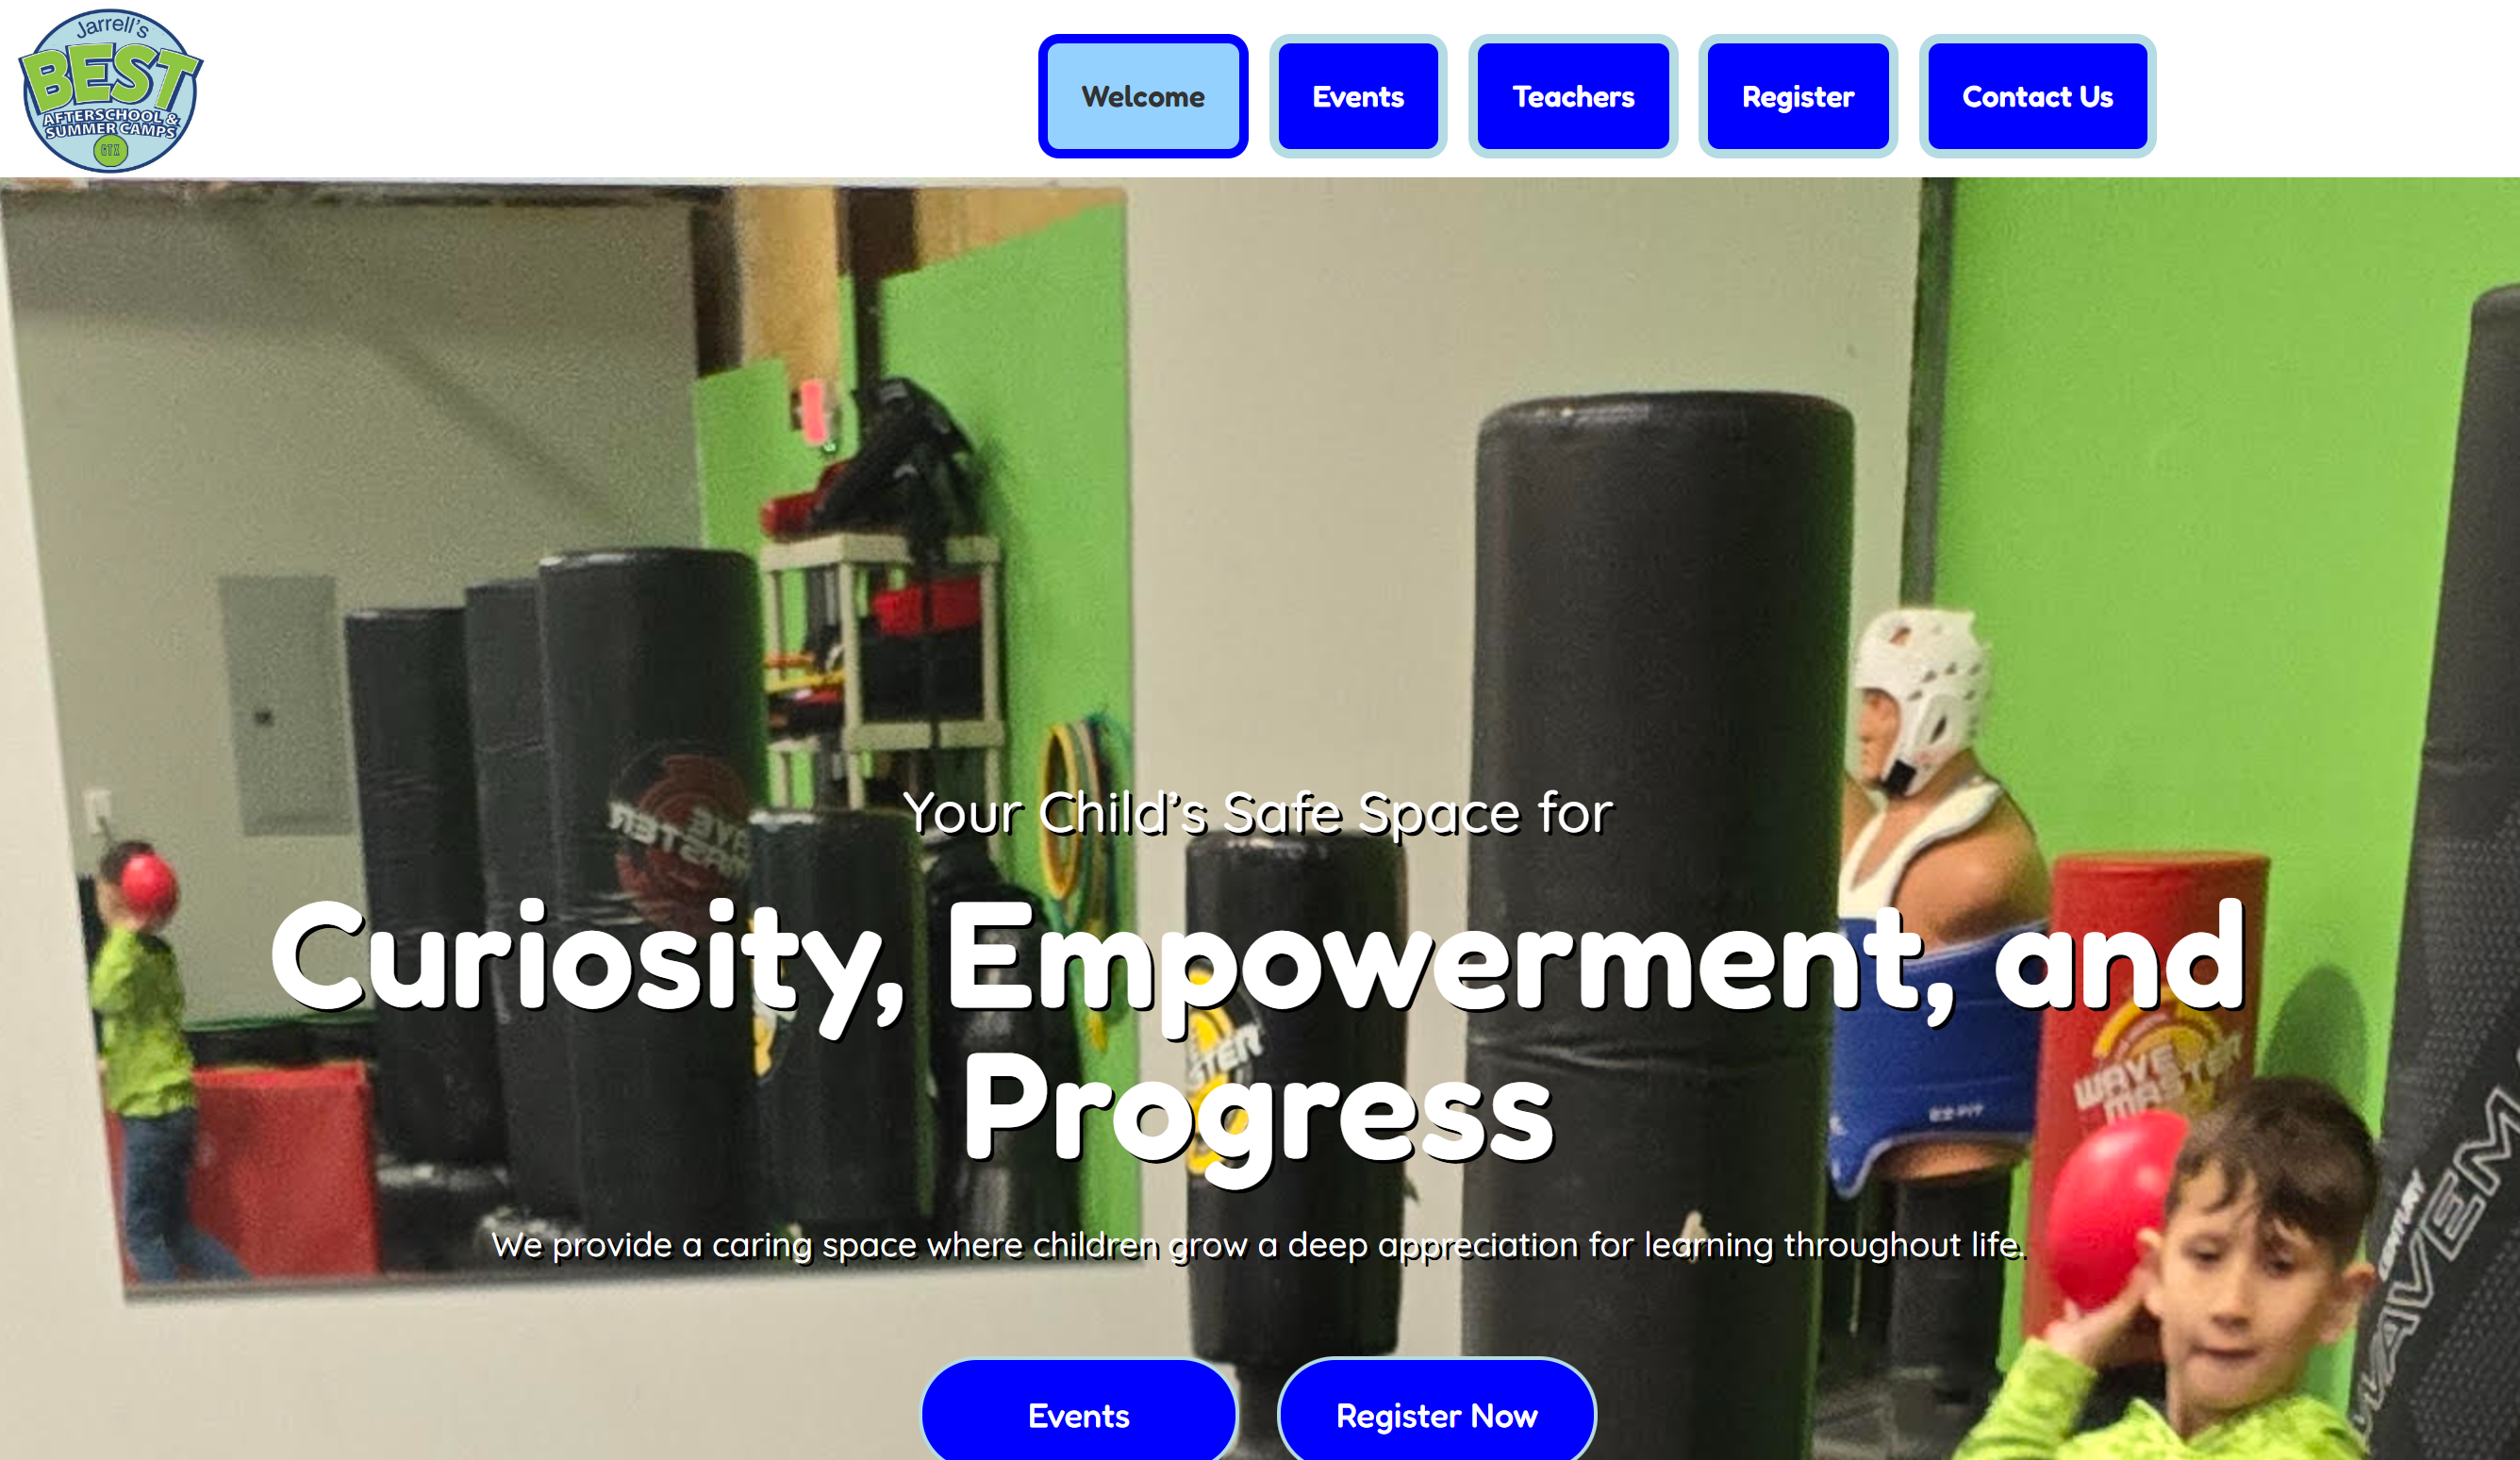
Jarrell Afterschool

Texas

pic

To Heal Thy Self

Illinois

pic

Local LLM Integration

Secure, private artificial intelligence. We deploy, optimize, and host large language models directly on your hardware so your proprietary business data never leaves your local network footprint.

Complete Data Isolation

Zero external API dependencies. Run state-of-the-art open-weights models entirely on air-gapped or localized enterprise servers.

Hardware & Quantization

Tailored model selection and memory capacity sizing (Ollama, vLLM, GGML) engineered for your specific VRAM and compute constraints.

Context & Retrieval (RAG)

Connect vector embeddings to internal knowledge bases to deliver accurate context-aware responses with zero data leakage.

Jump to our blog for our quick setup guide to spin up your own localized Ollama coding assistant!

Chore HQ Platform

Modernize chore life with the premier family management application. Streamline household duties, track daily routines, and keep family operations synchronized in real time.

Real-Time Task Sync

Instant state updates across all family devices keep task completion status synchronized without friction or manual refreshes.

Gamified Accountability

Built-in incentive metrics, streak counters, and allowance tracking to keep household goals structured and engaging.

Simplified Management

Clean, intuitive glassmorphism dashboard designed for frictionless assignment, recurring schedule rules, and effortless tracking.

New Deployment Feature

We are building Local LMs for your small business.

Take complete control of your data privacy. Select your model, select your memory capacity, and let it rip!

The Intelligent Application Forge

Skyline Cloud LLC is a technology solutions provider specializing in professional web hosting, business automation, and AI-integrated software. Headquartered in Pennsylvania, the company focuses on delivering high-performance infrastructure for small to medium sized businesses and industries.

Platform Overview

Building a Seamless Light/Dark Theme Toggle with Local Storage

Learn how to build a smooth, CSS-variable-driven light and dark mode toggle that remembers user preferences using JavaScript and localStorage.

Aug 24, 2026

Modern web development demands responsive, user-friendly interfaces. Giving users the option to switch to a dark theme reduces eye strain and looks sleek. In this walkthrough, we will build a smooth, CSS-variable-driven theme toggle that remembers the user's preference across page loads using localStorage.

Light Dark

Interactive Demo

Flip the switch to toggle the theme. Refresh the page, and notice how it remembers your choice!

Implementation Details

To keep things modular and prevent messy overrides, this technique relies entirely on CSS Custom Properties (Variables). We define our colors at the top level, and when the user toggles the switch, we simply apply a .dark-mode class that redefines those variables. The browser handles the rest natively.

1. The HTML Structure

We use a standard hidden checkbox wrapped in a label. The slider span acts as the visual switch. We wrap our content inside a main container (theme-demo-wrapper) that will receive our dark mode class.

HTML
<div class="theme-demo-wrapper" id="liveDemoWrapper">
  <div class="toggle-container">
    <span>Light</span>
    <label class="switch">
      <input type="checkbox" id="demoToggleSwitch">
      <span class="slider"></span>
    </label>
    <span>Dark</span>
  </div>
  <div class="demo-card">
    <h4>Demo Card Component</h4>
  </div>
</div>

2. The CSS (Variables & Transitions)

Here, we declare our base light colors. When the .dark-mode class is added via JavaScript, it replaces the variable values. Applying a transition to the background color ensures the theme fades in smoothly rather than flashing instantly.

CSS
/* Default Light Mode Variables */
.theme-demo-wrapper {
  --demo-bg: #f8f9fa;
  --demo-text: #212529;
  --demo-card-bg: #ffffff;
  
  background-color: var(--demo-bg);
  color: var(--demo-text);
  transition: background-color 0.3s ease, color 0.3s ease;
}

/* Dark Mode Variable Overrides */
.theme-demo-wrapper.dark-mode {
  --demo-bg: #1a1b1e;
  --demo-text: #e9ecef;
  --demo-card-bg: #2c2e33;
}

/* Switch styling & animation */
.switch { position: relative; display: inline-block; width: 46px; height: 24px; }
.switch input { opacity: 0; width: 0; height: 0; }
.slider { position: absolute; cursor: pointer; top: 0; left: 0; right: 0; bottom: 0; background-color: #ccc; transition: .3s; border-radius: 24px; }
.slider:before { position: absolute; content: ""; height: 18px; width: 18px; left: 3px; bottom: 3px; background-color: white; transition: .3s; border-radius: 50%; }

/* Animate the slider when checked */
input:checked + .slider { background-color: #3b82f6; }
input:checked + .slider:before { transform: translateX(22px); }

3. The JavaScript & Local Storage

This is where the real magic happens. If a user chooses dark mode, they expect it to stay dark when they click to another page. We achieve this using the browser's localStorage API.

  • On Load: We check localStorage.getItem() to see if a theme was previously saved. If it was "dark", we apply the class immediately and set the checkbox to true.
  • On Click: We listen for the toggle switch. Depending on its state, we apply/remove the CSS class and use localStorage.setItem() to save the choice for the next visit.
JavaScript
document.addEventListener('DOMContentLoaded', () => {
  const toggleInput = document.getElementById('demoToggleSwitch');
  const demoWrapper = document.getElementById('liveDemoWrapper');

  if (!toggleInput || !demoWrapper) return;

  // 1. Check for a previously saved theme preference
  const currentTheme = localStorage.getItem('theme-preference');
  if (currentTheme === 'dark') {
    demoWrapper.classList.add('dark-mode');
    toggleInput.checked = true; // Visually update the switch
  }

  // 2. Listen for changes and save to local storage
  toggleInput.addEventListener('change', (e) => {
    if (e.target.checked) {
      demoWrapper.classList.add('dark-mode');
      localStorage.setItem('theme-preference', 'dark');
    } else {
      demoWrapper.classList.remove('dark-mode');
      localStorage.setItem('theme-preference', 'light');
    }
  });
});

CrewAI Powered RAG Agent - CrewAI_Tools PDFSearchTool

Fully working Python Example in Jupyter Notebooks to standup a CrewAI RAG Agent. Python syntax is slightly different, this is Jupyter syntax.

Aug 5, 2026

This tutorial presents a complete, end-to-end implementation of an Agentic Retrieval-Augmented Generation (RAG) System built with CrewAI and optimized for execution within Jupyter Notebooks.


Instead of relying on standard naive RAG—where every input query blindly searches a single vector database—this architecture uses an intelligent multi-agent framework to dynamically evaluate, route, and execute information retrieval based on query intent.


Technical Architecture & Core Design


The system decouples intent evaluation from data fetching through specialized agent roles executed sequentially:


  1. Query Router Agent: Evaluates incoming user prompts and classifies them into three explicit execution paths:
    • PDF: Routes queries requiring proprietary or domain-specific static knowledge (e.g., technical whitepapers) to local vector document search tools.
    • WEB: Routes queries asking for live news, real-time events, or external data to the Tavily Web Search API.
    • DIRECT: Handles broad world knowledge, conversational inputs, or general facts directly via the LLM, skipping retrieval entirely to save API latency and compute costs.
  2. Information Retriever & Formatter Agent: Consumes the routing classification alongside the original prompt, executes the designated search tool (PDFSearchTool or custom TavilyWebSearchTool), synthesizes raw contexts, and yields a grounded final response.

Key Technical Highlights in the Code


  • Jupyter Async Handling (nest_asyncio): Applies nest_asyncio.apply() early in the workflow to resolve event loop conflicts inherent when executing asynchronous orchestration methods like kickoff_async() inside interactive Jupyter kernels.
  • Custom Tool Wrapping (BaseTool): Demonstrates how to create custom CrewAI tool wrappers using Pydantic models to encapsulate third-party search APIs like Tavily.
  • Context Passing Between Tasks: Utilizes CrewAI's context=[routing_task] parameter in the retrieval task definition to pass upstream routing decisions directly into the downstream agent’s execution phase without manual state tracking.
  • Traceability & Auditing: Captures both the synthesized user answer (result.raw) and full execution logs (routing_task.output.raw), enabling granular inspection of agent decision-making.

Cell 1: Install Dependencies

Python

!pip install crewai crewai[tools] langchain-community langchain-openai pydantic tavily-python
!pip install pywin32
!pip install nest-asyncio
                        

Cell 2: Import Libraries and Setup Environment

Python

import os
import nest_asyncio
nest_asyncio.apply()

from crewai.tools import BaseTool
from langchain_community.tools import TavilySearchResults
from pydantic import Field
from crewai import Agent, Task, Crew, Process
from crewai_tools import PDFSearchTool
from langchain_community.tools.tavily_search import TavilySearchResults

# Configure API Keys (Replace with your actual keys)
os.environ["TAVILY_API_KEY"] = "your_key_here"
os.environ["OPENAI_API_KEY"] = "your_key_here"
                        

Cell 3: Initialize Tools

Python

# The PDF search tool processes static domain knowledge
pdf_search_tool = PDFSearchTool(pdf='trasformer_research_paper-dataset.pdf')

# 1. Define custom CrewAI BaseTool class wrapping Tavily
class TavilyWebSearchTool(BaseTool):
    name: str = "Tavily Web Search"
    description: str = (
        "Useful for searching the live web, news, and current events."
    )

    tavily: TavilySearchResults = Field(
        default_factory=lambda: TavilySearchResults(max_results=5)
    )

    def _run(self, query: str) -> str:
        try:
            return str(self.tavily.invoke({"query": query}))
        except Exception as e:
            return f"Error executing web search: {str(e)}"

# 2. Instantiate the tool
web_search_tool = TavilyWebSearchTool()
                        

Cell 4: Define Agents

Python

router_agent = Agent(
    role="Query Router",
    goal="Analyze the user's question and strictly determine the optimal retrieval path: 'PDF', 'WEB', or 'DIRECT'.",
    backstory=(
        "You are a routing specialist for a highly advanced RAG system. "
        "The PDF contains specialized internal company/domain knowledge. "
        "The WEB contains real-time news, current events, and live data. "
        "DIRECT is for basic greetings or standard facts requiring no lookup. "
        "Your job is to read the query, decide the route, and pass the instruction forward."
    ),
    verbose=True,
    allow_delegation=False
)

retriever_agent = Agent(
    role="Information Retriever and Formatter",
    goal="Retrieve information using the exact tool indicated by the Router Agent, and synthesize a grounded final answer.",
    backstory=(
        "You are a meticulous researcher. You strictly follow the Router Agent's instructions. "
        "If instructed to use PDF, you use the PDFSearchTool. If instructed to use WEB, you use the Tavily tool. "
        "You never guess facts; you only answer based on the retrieved context."
    ),
    tools=[pdf_search_tool, web_search_tool],
    verbose=True,
    allow_delegation=False
)
                        

Cell 5: Define Tasks

Python

routing_task = Task(
    description=(
        "Analyze this user question: '{query}'.\n"
        "1. Decide if it needs internal PDF knowledge, current WEB data, or a DIRECT answer.\n"
        "2. Output the routing decision and a brief reasoning."
    ),
    expected_output="A short text specifying the route (e.g., 'ROUTE: WEB') and the reasoning.",
    agent=router_agent
)

retrieval_task = Task(
    description=(
        "Answer this user question: '{query}'.\n"
        "Use the output from the routing task to determine your action. "
        "Execute the appropriate tool to find the information, then write a comprehensive, accurate answer."
    ),
    expected_output="A detailed, accurate answer grounded in the retrieved data, with no mention of the internal routing process.",
    agent=retriever_agent,
    context=[routing_task] # This natively passes the Router's output to the Retriever
)
                        

Cell 6: Orchestrate the Crew

Python

agentic_rag_crew = Crew(
    agents=[router_agent, retriever_agent],
    tasks=[routing_task, retrieval_task],
    process=Process.sequential, # Ensures Router finishes before Retriever starts
    verbose=True, # Enables detailed interaction logging
    output_log_file="rag_execution.log",
)
                        

Cell 7: Execute and View Results

Python

############################################################
#Example question related to the PDF to enter
#How many identical layers is an encoder stack composed of?
############################################################
#Example question related to web search 
#What are the different types of corgis?
############################################################

raw_input = input("Enter your question (leave blank for default): ").strip()
user_question = raw_input if raw_input else "What is the attention mechanism?"

print(f"Selected Query: '{user_question}'")

#execute and view
print(f"\nProcessing query: '{user_question}'\n")

# Run crew asynchronously
result = await agentic_rag_crew.kickoff_async(inputs={"query": user_question})

print("\n" + "=" * 50)
print("FINAL ANSWER:")
print("=" * 50)
print(result.raw)  # Use .raw for clean string output

print("\n" + "=" * 50)
print("ROUTING LOG / TRACEABILITY:")
print("=" * 50)
print(f"Router Decision: {routing_task.output.raw}")
                        

Output:

Python

╭─────────────────────────────────────────── 🚀 Crew Execution Started ───────────────────────────────────────────╮
│                                                                                                                 
│  Crew Execution Started                                                                                         
│  Name: crew                                                                                                     
│  ID: d1576a57-4890-4961-87e0-8ea11f475e6f                                                                       
│                                                                                                                 
│                                                                                                                 
╰─────────────────────────────────────────────────────────────────────────────────────────────────────────────────╯

╭──────────────────────────────────────────────── 📋 Task Started ────────────────────────────────────────────────╮
│                                                                                                                 
│  Task Started                                                                                                   
│  Name: Analyze this user question: 'What are the different types of corgis?'.                                   
│  1. Decide if it needs internal PDF knowledge, current WEB data, or a DIRECT answer.                            
│  2. Output the routing decision and a brief reasoning.                                                          
│  ID: d5431b68-1e01-4fe6-88d1-eaf221aa20fe                                                                       
│                                                                                                                 
│                                                                                                                 
╰─────────────────────────────────────────────────────────────────────────────────────────────────────────────────╯
 
╭─────────────────────────────────────────────── 🤖 Agent Started ────────────────────────────────────────────────╮
│                                                                                                                 
│  Agent: Query Router                                                                                            
│                                                                                                                 
│  Task: Analyze this user question: 'What are the different types of corgis?'.                                   
│  1. Decide if it needs internal PDF knowledge, current WEB data, or a DIRECT answer.                            
│  2. Output the routing decision and a brief reasoning.                                                          
│                                                                                                                 
╰─────────────────────────────────────────────────────────────────────────────────────────────────────────────────╯

╭───────────────────────────────────────────── ✅ Agent Final Answer ─────────────────────────────────────────────╮
│                                                                                                                 
│  Agent: Query Router                                                                                            
│                                                                                                                 
│  Final Answer:                                                                                                  
│  ROUTE: DIRECT                                                                                                  
│  Reasoning: The question about the different types of corgis is general knowledge about dog breeds and does     
│  not require specialized internal company knowledge or real-time data. It can be answered directly from common  
│  factual information.                                                                                           
│                                                                                                                 
╰─────────────────────────────────────────────────────────────────────────────────────────────────────────────────╯

╭────────────────────────────────────────────── 📋 Task Completion ───────────────────────────────────────────────╮
│                                                                                                                 
│  Task Completed                                                                                                 
│  Name: Analyze this user question: 'What are the different types of corgis?'.                                   
│  1. Decide if it needs internal PDF knowledge, current WEB data, or a DIRECT answer.                            
│  2. Output the routing decision and a brief reasoning.                                                          
│  Agent: Query Router                                                                                            
│                                                                                                                 
│                                                                                                                 
╰─────────────────────────────────────────────────────────────────────────────────────────────────────────────────╯

╭──────────────────────────────────────────────── 📋 Task Started ────────────────────────────────────────────────╮
│                                                                                                                 
│  Task Started                                                                                                   
│  Name: Answer this user question: 'What are the different types of corgis?'.                                    
│  Use the output from the routing task to determine your action. Execute the appropriate tool to find the        
│  information, then write a comprehensive, accurate answer.                                                      
│  ID: 32ab02b3-7da1-488d-ab92-adfd4eedf0a9                                                                       
│                                                                                                                 
│                                                                                                                 
╰─────────────────────────────────────────────────────────────────────────────────────────────────────────────────╯

╭─────────────────────────────────────────────── 🤖 Agent Started ────────────────────────────────────────────────╮
│                                                                                                                 
│  Agent: Information Retriever and Formatter                                                                     
│                                                                                                                 
│  Task: Answer this user question: 'What are the different types of corgis?'.                                    
│  Use the output from the routing task to determine your action. Execute the appropriate tool to find the        
│  information, then write a comprehensive, accurate answer.                                                      
│                                                                                                                 
╰─────────────────────────────────────────────────────────────────────────────────────────────────────────────────╯

╭───────────────────────────────────────────── ✅ Agent Final Answer ─────────────────────────────────────────────╮
│                                                                                                                 
│  Agent: Information Retriever and Formatter                                                                     
│                                                                                                                 
│  Final Answer:                                                                                                  
│  The different types of corgis primarily refer to two distinct breeds:                                          
│                                                                                                                 
│  1. Pembroke Welsh Corgi: This breed is known for its shorter tail or sometimes a docked tail and slightly      
│  smaller stature compared to the other type. Pembroke Welsh Corgis typically have a more fox-like appearance    
│  with erect ears and a more pointed face. They are one of the most popular corgi breeds and are known for       
│  their friendly and outgoing nature.                                                                            
│                                                                                                                 
│  2. Cardigan Welsh Corgi: This breed has a longer tail and ears that are more rounded at the tips. Cardigans    
│  are generally a bit larger and have a more robust build compared to Pembrokes. They have a longer body and     
│  come in a wider variety of coat colors and patterns.                                                           
│                                                                                                                 
│  Both types of corgis are herding dogs originally from Wales, but they have distinct lineage and physical       
│  characteristics that differentiate them.                                                                       
│                                                                                                                 
╰─────────────────────────────────────────────────────────────────────────────────────────────────────────────────╯

╭────────────────────────────────────────────── 📋 Task Completion ───────────────────────────────────────────────╮
│                                                                                                                 
│  Task Completed                                                                                                 
│  Name: Answer this user question: 'What are the different types of corgis?'.                                    
│  Use the output from the routing task to determine your action. Execute the appropriate tool to find the        
│  information, then write a comprehensive, accurate answer.                                                      
│  Agent: Information Retriever and Formatter                                                                     
│                                                                                                                 
│                                                                                                                 
╰─────────────────────────────────────────────────────────────────────────────────────────────────────────────────╯

Output to User Chat Window:


==================================================
FINAL ANSWER:
==================================================
The different types of corgis primarily refer to two distinct breeds:

1. Pembroke Welsh Corgi: This breed is known for its shorter tail or sometimes a docked tail and slightly smaller stature compared to the other type. Pembroke Welsh Corgis typically have a more fox-like appearance with erect ears and a more pointed face. They are one of the most popular corgi breeds and are known for their friendly and outgoing nature.

2. Cardigan Welsh Corgi: This breed has a longer tail and ears that are more rounded at the tips. Cardigans are generally a bit larger and have a more robust build compared to Pembrokes. They have a longer body and come in a wider variety of coat colors and patterns.

Both types of corgis are herding dogs originally from Wales, but they have distinct lineage and physical characteristics that differentiate them.

==================================================
ROUTING LOG / TRACEABILITY:
==================================================
Router Decision: ROUTE: DIRECT  
Reasoning: The question about the different types of corgis is general knowledge about dog breeds and does not require specialized internal company knowledge or real-time data. It can be answered directly from common factual information.

Recaptcha Fraud Detection Setup

Implement reCAPTCHA Enterprise fraud protection on ASP.NET WebForms. Includes script integration, token submission via hidden field, and backend API validation.

Jul 20, 2026

Google Recaptcha Fraud Protection

(10,000 requests per month are free)

Put in your html <head> on your html page, aspx page, or master page.

HTML
<script src="https://www.google.com/recaptcha/enterprise.js?render=sitekey"></script>

Here is a DIV to drop right on your html or aspx page. This contains the HTML DIV and a javascript call.

HTML & JavaScript
<div class="row">
    <div class="offset-md-2 col-md-10">
        <!-- Hidden input to store the token for C# backend -->
        <asp:HiddenField ID="hfRecaptchaToken" runat="server" />

        <asp:Button runat="server" ID="btnRegister" OnClick="CreateUser_Click" 
                    OnClientClick="return onSubmit(event);" Text="Register" 
                    CssClass="btn btn-outline-dark" />
        <p>NOTE: If you forget your password, email us at skylinecloud.ai.</p>
    </div>
</div>

<script>
    function onSubmit(e) {
        // Prevent the default form submission temporarily
        e.preventDefault();

        grecaptcha.enterprise.ready(async () => {
            // 1. Generate the token on click
            const token = await grecaptcha.enterprise.execute('sitekey', { action: 'submit' });

            // 2. Put token into ASP.NET hidden field
            document.getElementById('<%= hfRecaptchaToken.ClientID %>').value = token;
      
            // 3. Trigger ASP.NET postback manually
            __doPostBack('<%= btnRegister.UniqueID %>', '');
        });
    }
</script>

Step 2 you need to call the google fraud api to complete the request, else this process fails.

On register.cs:

C#
protected void CreateUser_Click(object sender, EventArgs e)
{
    if (Page.IsValid)
    {
        string token = hfRecaptchaToken.Value;

        if (string.IsNullOrEmpty(token) || !VerifyRecaptcha(token))
        {
            ErrorMessage.Text = "reCAPTCHA verification failed or score was too low. Please try again.";
            return;
        }
        
        // else continue code
    }
}

CreateUser_Click was a simulated button click. However you use Recaptcha, you need to next see the response from the verification.

C#
public class RecaptchaResponse
{
    public bool success { get; set; }
    public double score { get; set; }
    public string action { get; set; }
    public string[] error_codes { get; set; }
}

private bool VerifyRecaptcha(string token)
{
    // Replace with your reCAPTCHA Enterprise Secret Key from Google Cloud Console
    string secretKey = "secretkey";

    string url = string.Format(
        "https://www.google.com/recaptcha/api/siteverify?secret={0}&response={1}",
        secretKey,
        token
    );

    try
    {
        HttpWebRequest request = (HttpWebRequest)WebRequest.Create(url);
        using (HttpWebResponse response = (HttpWebResponse)request.GetResponse())
        using (StreamReader stream = new StreamReader(response.GetResponseStream()))
        {
            string jsonResponse = stream.ReadToEnd();
            JavaScriptSerializer js = new JavaScriptSerializer();
            RecaptchaResponse result = js.Deserialize<RecaptchaResponse>(jsonResponse);

            // Verify success, score threshold (e.g., >= 0.5), and action name
            return result.success && result.score >= 0.5;
        }
    }
    catch (Exception)
    {
        return false;
    }
}

Key Architectural Principles

  • Free Tier Limit: Includes up to 10,000 free assessment requests per month.
  • Step 1 (Client Head Script): Include the official Google Enterprise JS library in your <head> section.
  • Step 2 (Form & Handshake): Capture the token on button click via JavaScript and pass it to an ASP.NET HiddenField during postback.
  • Step 3 (Backend Trigger): Retrieve the hidden field token in your CreateUser_Click event before executing user creation logic.
  • Step 4 (Google API Verification): Send the token to Google's siteverify API endpoint using HttpWebRequest and validate that score >= 0.5.

Local LM Visual Studio Code Helper (Ollama)

A lightweight, enterprise-grade, local LLM-powered command-line interface (CLI) for in-place code refactoring and scaffolding. Designed for complete data privacy and seamless developer ergonomics, this tool integrates directly into your terminal and pipes code changes straight into Visual Studio Code's native diff viewer for a review-first approval gate.

Jun 19, 2026

Python

import os
import sys
import shutil
import subprocess
from datetime import datetime
import requests
import re
import threading
import time

# =============================================================================
# Configuration
# If not hosted locally you can simply run this file as python code_helper_v6.py <file_path> <prompt>
# =============================================================================
OLLAMA_API_URL = "http://localhost:11434/api/generate"
MODEL_NAME = "qwen2.5-coder:3b"

# Disclaimer to be injected into C# files when the user requests it via the prompt add disclaimer
DISCLAIMER_TEXT = """/*
 * -----------------------------------------------------------------------------
 * © 2026 Skyline Cloud LLC. All rights reserved.
 * NOTICE: This source code file contains structural modifications optimized via
 * an internally hosted, private Qwen LLM instance. All data remains subject 
 * to strict corporate security and data sovereignty policies.
 * SkylineCloud.AI is a proprietary tool and may not be redistributed or used outside of authorized environments.
 * -----------------------------------------------------------------------------
 */"""

# =============================================================================
# Visual Spinner & External Prompt Loading
# architect_rules.txt will be auto-generated if missing, ensuring consistent LLM behavior across environments.
# Updates to the rules file will be reflected in subsequent LLM interactions without requiring code changes.
# =============================================================================
def show_spinner(stop_event):
    spinner = ['⠋', '⠙', '⠹', '⠸', '⠼', '⠴', '⠦', '⠧', '⠇', '⠏']
    idx = 0
    while not stop_event.is_set():
        sys.stdout.write(f"\r[INFO] Skyline LLM is thinking... {spinner[idx]} ")
        sys.stdout.flush()
        idx = (idx + 1) % len(spinner)
        time.sleep(0.1)
    sys.stdout.write("\r" + " "*50 + "\r") # Clears the line cleanly

def get_system_prompt(file_path):
    # Determine the file extension to load language-specific rules
    _, ext = os.path.splitext(file_path.lower())
    script_dir = os.path.dirname(os.path.abspath(__file__))
    
    # Define mapping of file extensions to target rule files and their initial default prompts
    agent_configs = {
        ".cs": {
            "filename": "architect_rules_cs.txt",
            "default_prompt": (
                "You are an expert C# refactoring assistant. Your job is to modify the provided C# code "
                "according to the user's instructions. You MUST return ONLY the raw, updated C# source code. "
                "Do NOT include any introduction, explanations, markdown code blocks (like ```csharp), or trailing text. "
                "Preserve the existing structure, namespaces, and formatting of the class as much as possible."
            )
        },
        ".py": {
            "filename": "architect_rules_py.txt",
            "default_prompt": (
                "You are an expert Python programming assistant. Your job is to modify the provided Python code "
                "according to the user's instructions. You MUST return ONLY the raw, updated Python source code. "
                "Do NOT include any introduction, explanations, markdown code blocks (like ```python), or trailing text. "
                "Adhere to PEP 8 guidelines and preserve formatting as much as possible."
            )
        },
        ".sql": {
            "filename": "architect_rules_sql.txt",
            "default_prompt": (
                "You are an expert SQL database assistant. Your job is to modify or generate database scripts "
                "according to the user's instructions. You MUST return ONLY valid SQL commands. "
                "Do NOT include markdown syntax (like ```sql), conversational introductions, or explanations. "
                "Ensure syntax matches standard ANSI SQL or T-SQL conventions where applicable."
            )
        }
    }
    
    # Fallback for generic/unsupported file extensions
    fallback_config = {
        "filename": "architect_rules.txt",
        "default_prompt": (
            "You are an expert software development assistant. Your job is to modify or generate code "
            "according to the user's instructions. You MUST return ONLY the raw, updated source code. "
            "Do NOT include markdown syntax wrapping, introductions, or structural explanations."
        )
    }
    
    # Select configuration based on extension
    config = agent_configs.get(ext, fallback_config)
    prompt_file = os.path.join(script_dir, config["filename"])
    
    if os.path.exists(prompt_file):
        with open(prompt_file, 'r', encoding='utf-8') as f:
            return f.read().strip()
    else:
        # Auto-generate the appropriate configuration file if it's missing
        with open(prompt_file, 'w', encoding='utf-8') as f:
            f.write(config["default_prompt"])
        print(f"[INFO] Created default agent rule configuration at '{config['filename']}'")
        return config["default_prompt"]

# =============================================================================
# CORE EXECUTION
# Pass an existing file path and a prompt to modify it, or a new file path to scaffold a new C# file.
# =============================================================================
def modify_code(file_path, prompt):
    file_exists = os.path.exists(file_path)
    original_code = ""

    # FEATURE 1: Handle File Generation vs Refactoring
    if file_exists:
        with open(file_path, 'r', encoding='utf-8') as f:
            original_code = f.read()

        try:
            timestamp = datetime.now().strftime("%Y%m%d_%H%M%S")
            backup_path = f"{file_path}.{timestamp}.bak"
            shutil.copy2(file_path, backup_path)
            print(f"[INFO] Backup created: '{os.path.basename(backup_path)}'")
        except Exception as e:
            print(f"[WARN] Failed to create backup. Error: {e}")
            return
            
        # CONDITIONAL BYPASS: Local File Mutation (Only works if file exists)
        if "add disclaimer" in prompt.lower():
            print("[INFO] Shortcut matched: Injecting local corporate disclaimer...")
            using_pattern = re.compile(r'((?:^using\s+[^;]+;\s*\r?\n)+)', re.MULTILINE)
            match = using_pattern.search(original_code)
            
            if match:
                end_of_usings = match.end()
                updated_code = original_code[:end_of_usings] + "\n" + DISCLAIMER_TEXT + "\n" + original_code[end_of_usings:]
            else:
                updated_code = DISCLAIMER_TEXT + "\n\n" + original_code

            with open(file_path, 'w', encoding='utf-8') as f:
                f.write(updated_code)
            print(f"[SUCCESS] Disclaimer applied to {os.path.basename(file_path)} without LLM dependency.")
            return

    else:
        print(f"[INFO] File does not exist. Initiating scaffolding for '{os.path.basename(file_path)}'...")
        # Create an empty file so VS Code Diff viewer doesn't crash on the left side
        os.makedirs(os.path.dirname(file_path) or '.', exist_ok=True)
        open(file_path, 'a').close()

    print(f"[NETWORK] Sending '{os.path.basename(file_path)}' to Skyline Cloud LLM...")

    # Build Context-Aware Prompt (Now routing rules based on extension)
    system_instruction = get_system_prompt(file_path)
    
    if file_exists:
        full_prompt = f"{system_instruction}\n\nOriginal Code:\n{original_code}\n\nInstruction:\n{prompt}\n\nUpdated Code:"
    else:
        full_prompt = f"{system_instruction}\n\nInstruction: Scaffold a completely new file based on the following request.\n\nRequest:\n{prompt}\n\nGenerated Code:"

    # FEATURE 2: Expand Context Window (num_ctx)
    payload = {
        "model": MODEL_NAME,
        "prompt": full_prompt,
        "stream": False,
        "options": {
            "temperature": 0.2,
            "num_ctx": 8192 
        }
    }

    # Execute Network Call with Threaded Spinner
    stop_spinner = threading.Event()
    spinner_thread = threading.Thread(target=show_spinner, args=(stop_spinner,))
    spinner_thread.start()

    try:
        # FEATURE 3: Timeout Fail-Safe
        response = requests.post(OLLAMA_API_URL, json=payload, timeout=120)
        response.raise_for_status()
    except requests.exceptions.Timeout:
        stop_spinner.set()
        print(f"\n[FATAL] The LLM timed out after 120 seconds. Aborting.")
        return
    except requests.exceptions.RequestException as e:
        stop_spinner.set()
        print(f"\n[FATAL] Error communicating with Ollama: {e}")
        return
    finally:
        stop_spinner.set() # Guarantee the spinner stops no matter what happens
        spinner_thread.join()

    # Extract the updated code
    updated_code = response.json().get("response", "").strip()
    
    # Strip markdown block wrappers cleanly
    if updated_code.startswith("```"):
        lines = updated_code.splitlines()
        if lines and lines[0].startswith("```"):
            lines = lines[1:]
        if lines and lines[-1].startswith("```"):
            lines = lines[:-1]
        updated_code = "\n".join(lines).strip()

    if not updated_code:
        print("[ERROR] Received empty response from the model.")
        return

    # Create temporary proposal
    proposal_path = f"{file_path}.proposal"
    with open(proposal_path, 'w', encoding='utf-8') as f:
        f.write(updated_code)

    # Launch Visual Diff
    print(f"[INFO] Launching visual diff in VS Code...")
    subprocess.run(["code", "--diff", file_path, proposal_path], shell=True)

    # Await User Confirmation
    print("\n" + "="*50)
    user_decision = input(f"Accept LLM changes to {os.path.basename(file_path)}? (y/n): ").strip().lower()
    print("="*50)

    if user_decision == 'y':
        shutil.move(proposal_path, file_path)
        print(f"[SUCCESS] Changes committed to '{os.path.basename(file_path)}'.")
    else:
        os.remove(proposal_path)
        # If we scaffolded an empty file and rejected it, clean up the empty file
        if not file_exists:
            os.remove(file_path)
        print(f"[INFO] Changes discarded. Codebase remains untouched.")


if __name__ == "__main__":
    if len(sys.argv) < 3:
        print("Usage: ai <file_path> <prompt...>")
    else:
        target_file = sys.argv[1]
        user_prompt = " ".join(sys.argv[2:])
        modify_code(target_file, user_prompt)
                    

Key Architectural Principles

Skyline Code Helper CLI (ai)

A lightweight, enterprise-grade, local LLM-powered command-line interface (CLI) for in-place code refactoring and scaffolding. Designed for complete data privacy and seamless developer ergonomics, this tool integrates directly into your terminal and pipes code changes straight into Visual Studio Code's native diff viewer for a review-first approval gate.

Built specifically for Skyline Cloud LLC development workflows.


🚀 Features

  • Zero-Token Local Inference: Harnesses your local Ollama server running qwen2.5-coder:3b (or larger weights) with zero API costs and absolute source code privacy.
  • Visual Diff Integration: Automatically launches a split-screen side-by-side visual difference editor (code --diff) in VS Code so you can inspect proposed updates before committing them.
  • Dynamic Multi-Agent System Prompts: Reads the extension of your target file (e.g., .cs, .py, .sql) and automatically routes the request to language-specific system architectures.
  • Smart Scaffolding: Auto-detects if a target file exists. If it does, a fail-safe backup (.bak) is created; if it doesn't, the tool enters scaffolding mode to write directory paths and generate your boilerplate from scratch.
  • Performance & UX Upgrades: Smooth terminal feedback using a thread-safe CLI progress spinner, generous context window sizing (8192 tokens) for legacy classes, and a network timeout fail-safe at 120 seconds.
  • Local Short-Circuits: Bypass the LLM entirely for high-frequency commands (like adding corporate licensing/disclaimers) using high-speed regex pattern matching.

🛠️ Architecture & Data Flow

Execution Stage Process Details
1. CLI Input User executes ai .\Path\To\File.cs "refactor method..."
2. Python Wrapper Identifies extension and checks file existence. Backups target (if exists) or creates an empty scaffold block (if missing).
3. Payload Assembly Loads target rules (CS/PY/SQL) and injects System Rules + Source File + Instruction into local payload.
4. Local Inference Processes network request via local Ollama server on Port 11434.
5. Diff Generation Saves output as File.cs.proposal and executes VS Code split-screen: code --diff File.cs File.cs.proposal
6. Approval Gate Terminal prompts "Accept LLM Changes? (y/n)". Overwrites file on 'yes', or discards proposal & cleans up scaffolds on 'no'.

📦 Prerequisites

  • Ollama: Installed and running locally. Download from ollama.com.
  • VS Code: Installed and added to your system PATH (the code command must work in your terminal).
  • Python 3.8+: With the requests library installed via pip install requests.

⚙️ Installation & Global Execution Setup

To get a true "Copilot CLI" feel where you can type ai without specifying Python paths or wrapping your prompts in quotation marks, configure a system alias:

  1. Position the Files: Save code_helper.py to a dedicated directory on your system (e.g., C:\SkylineTools\code_helper.py).
  2. Create the System Command: Create a batch file named ai.bat inside that same folder containing:
    @echo off
    python "C:\SkylineTools\code_helper.py" %*
  3. Open System Settings: Open the Windows Start Menu, search for "Edit the system environment variables", and open it.
  4. Edit Environment Variables: Click "Environment Variables...". Under "User variables", select "Path" and click "Edit".
  5. Add Directory: Click "New" and add your tools folder path: C:\SkylineTools.
  6. Apply & Restart: Click OK on all screens to apply, and restart any open terminals or VS Code windows.

💡 How It Works & Usage Examples

Open any shell terminal in any project workspace and call your code assistant natively:

Refactoring an Existing C# Class

ai .\Services\PaymentProcessor.cs refactor the ProcessTransaction method to be asynchronous and add XML comments

Creates a .bak backup, spins, sends the file payload to the local model combined with architect_rules_cs.txt, and loads the diff preview in VS Code.

Scaffolding a Brand New Python Script

ai .\Scripts\fetch_metrics.py generate a python script to query system CPU/Memory loads and save them as a CSV log

Identifies that the script doesn't exist, initializes an empty file to satisfy the split-screen viewer, loads architect_rules_py.txt, and generates the script.

Instant Bypass Shortcut

ai .\Controllers\OrderController.cs Add disclaimer

Instantly triggers a local regex pattern parser, identifies the last using declaration, and injects the Skyline Cloud LLC corporate copyright block without hitting the LLM network gateway.


🧠 Managing AI Agent Personas

The first time you run a query on an unsupported file extension, the script will automatically create the appropriate text-based agent configuration file next to code_helper.py:

  • architect_rules_cs.txt (Default C# Architect Rules)
  • architect_rules_py.txt (Default Python Best-Practice Rules)
  • architect_rules_sql.txt (Default Database/SQL Rules)
  • architect_rules.txt (Default General Fallback rules)

To alter the architectural standards of your AI assistant (e.g., forcing camelCase, demanding specific test framework mockings, or standardizing logging frameworks), simply edit these .txt files. The rules are dynamically injected into the system prompts on every single run.